
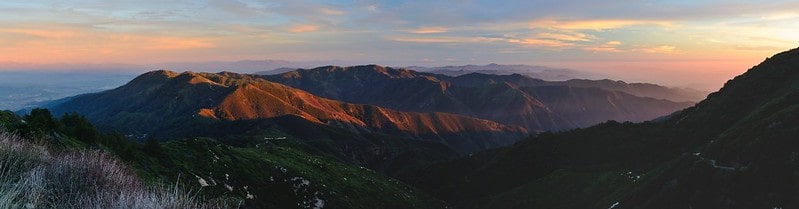
Santiago Peak, also referred to as Saddleback Mountain, is Orange County’s highest summit. It’s also one of the most scenic and worthwhile hikes in Orange County!
The mountain, located in Cleveland National Forest and amongst the Santa Ana mountain range, overlooks South Orange County and the Los Angeles Basin with incredible city views and steep, challenging hills.
It is on the border point of Riverside County, so it gives you an incomparable view of these adjacent regions.
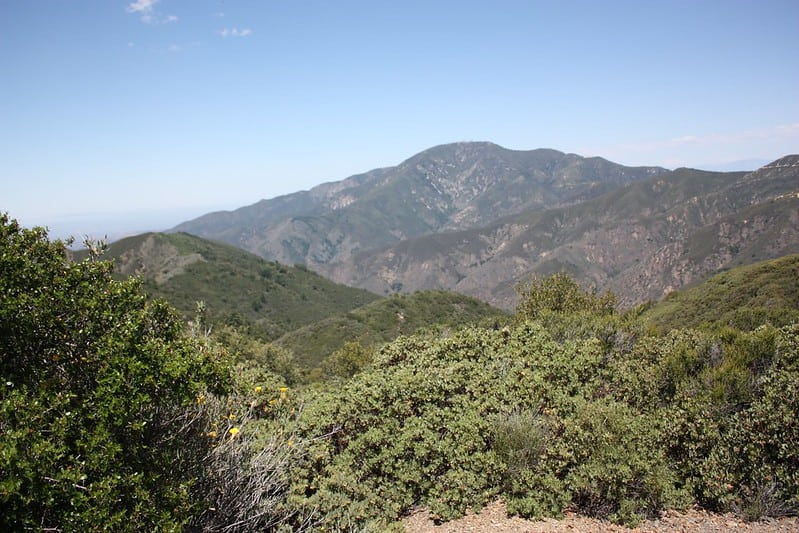
The name Saddleback Mountain derives from the two peaks, Santiago and Modjeska Peak, which form the shape of a horse’s saddle on the skyline.
There are various paths to reach the 5,673-foot mountain top, the most popular being a 15-mile round-trip loop along Holy Jim Trail.
All paths make for lengthy excursions, taking anywhere from 8 to 12 hours at an average speed. The hikes are typically classified as difficult, so come with enough training for a tough workout.
Despite the tough trek, ambitious hikers will find reaching the top of Santiago Peak to be very rewarding.
Note: This post contains affiliate links, which earn me a small commission at no extra cost to you if you make a purchase using one of these links. Thank you for supporting this free content!
Preparing to Hike Santiago Peak
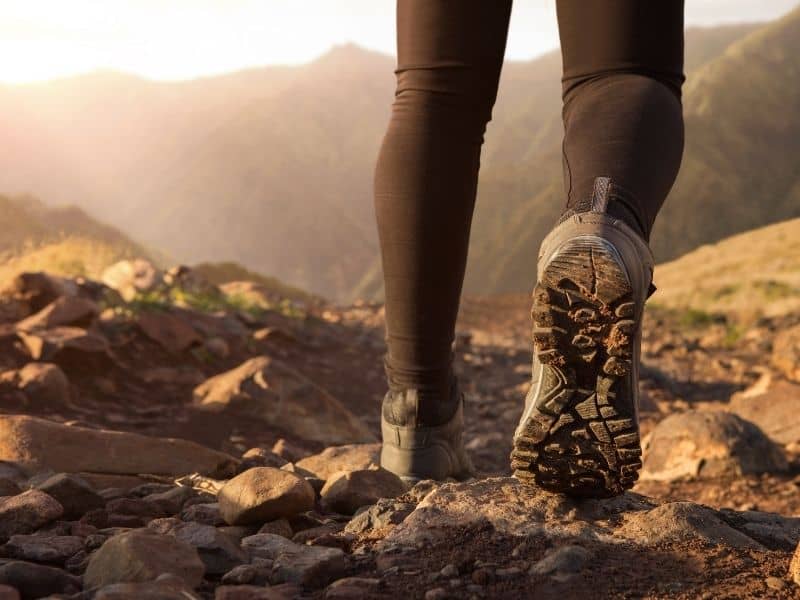
As one of the most extensive hikes in Orange County, come prepared for an all-day excursion.
Allow due time to get into prime fitness condition and gain hiking experience for this adventure. Pack plenty of water, snacks, layers, and supplies, and keep in mind that cell phone service may be limited.
Bring bug spray and skin protection, as the park is usually full of gnats and small bugs. You are welcome to bring dogs as long as they are leashed and up for a strenuous workout!
Before embarking on your journey, make sure you check the weather conditions; if it is too rainy, rangers will typically close the trails and block off parking.
In winter, check the weather forecasts in case of hail or snow, as the mountain top does experience these conditions seasonally.
If it is warm, you will want to make sure you are well-hydrated and stocked with liquids, as there will not be areas to refill water bottles.
Due to the length of the path, hikers usually like to begin their ascent in the early mornings to ensure they have enough time to return before dusk. Along the two routes detailed below, make way for mountain-bikers and motorized vehicles, as people use the trail for various activities throughout the year.
Hiking Santiago Peak via the Holy Jim Trail
Distance: 15 miles
Elevation: 4,000 feet
Though there are a few ways to reach the top, hikers often regard the path via Holy Jim Trail as the most scenic tour of the area.
Due to the Holy Fire, the road’s details may be closed from vegetation damage, but the park’s website will be able to verify whether or not it is available at the time of your visit.
To park for this impressive hike, head to the Holy Jim Canyon Trailhead. From I-5 South, take the exit onto Alicia Parkway leading to Santa Margarita Parkway, ending at Plano Trabuco Road.
Trabuco Canyon Road leads to a dirt trail that will take you to park and the beginning of the uphill route.
Because this road can be rocky and rough, we recommend driving a high clearance or four-wheel drive vehicle if possible.
You may use an Adventure Pass to cover the parking fee or buy a day permit from the park ranger for $5.
The first strand of the trail takes you through Holy Jim Canyon, showing off bright moss, running streams, and lush forest greenery.
As a side note regarding the region’s history, Holy Jim Canyon was named after a foulmouthed beekeeper nicknamed “Cussin’ Jim” who lived in the area. Along with Cussin’ Jim, locals reportedly killed off all of the grizzly bears of Holy Jim in the late 1800s.
Today, a few mountain dwellers have quaint cottages and cabins made from stone throughout the canyon, looking as if they are straight out of a storybook.
The whimsical region includes trickling creeks and streams and bigcone Douglas-firs and Coulter pines. As you hike through Holy Jim, take in the beauty of the sycamores, oaks, and chaparral landscape throughout your journey and remember the dense history leading it to be what it is today.
Once in a while, you may have to trudge through streams depending on the season, but your shoes should dry in no time in typical California weather. If you are lucky, other hikers may have carved a path for you in advance.
After following the first trail section, you will come to an intersection for Holy Jim Falls.
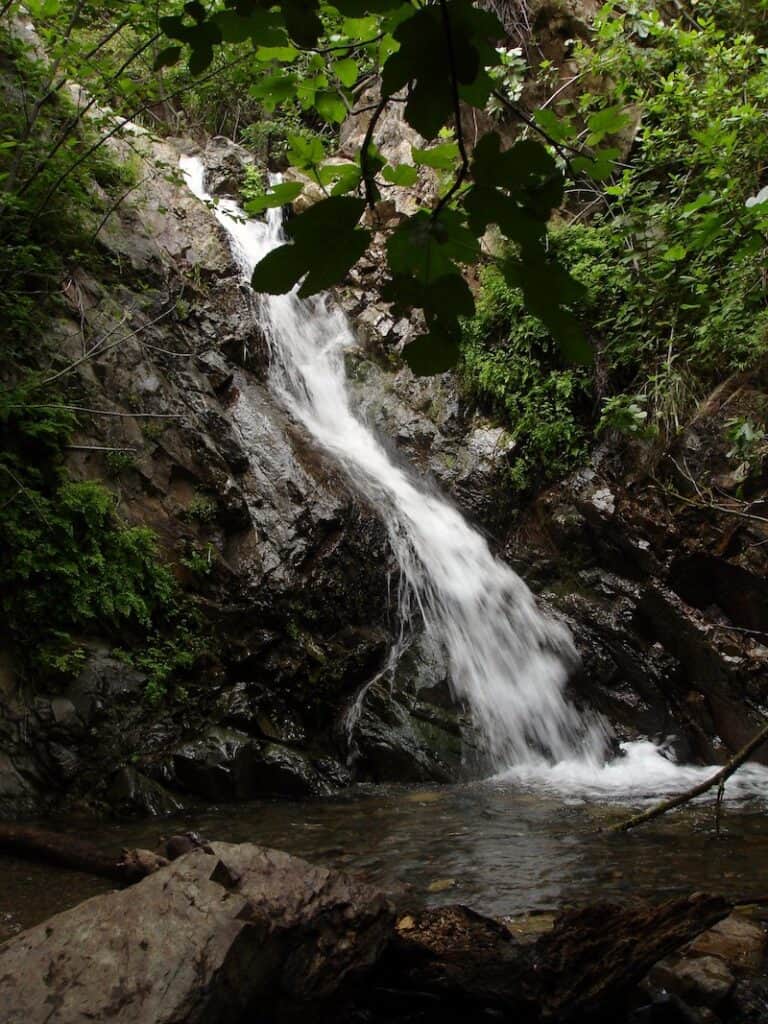
If you want to add some extra time to your hike, you can head to the falls and take a dip in the waterfall. Holy Jim Falls follows Holy Jim Creek and flows out to Dana Point.
If it is too dry, the falls might be minor, but it can often be an impressive sight with the right conditions.
However, instead of visiting this site on this particular hike, we recommend putting that off for a later date and continuing along the path to ensure you finish in due time.
After this crossroad, you will reach the switchbacks along the mountain’s wall; by this time, your legs might be starting to feel the burn!
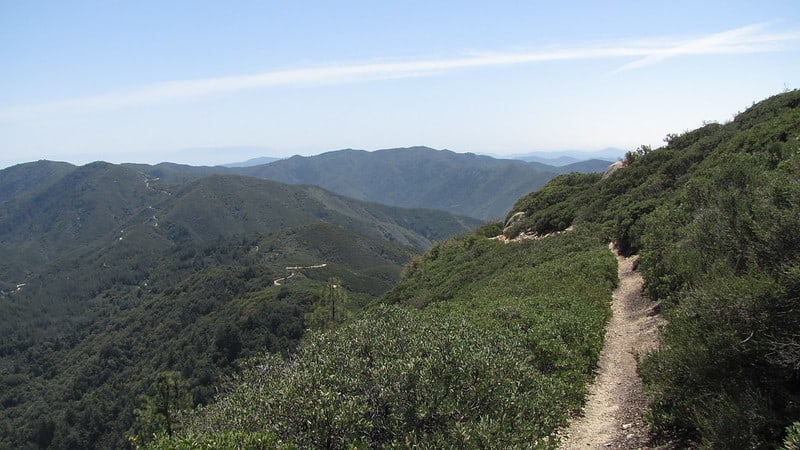
The switchbacks continue along the side of the hill, providing exquisite views of the lush canyon and the Santa Ana Mountains. Mile markers give a sense of encouragement as you continue up the mountain.
Make sure to pace yourself, as the journey has just begun! The switchbacks may seem endless, but together they make a grand accomplishment.
After the switchbacks, you will take a right on Main Divide Road around the 5.1-mile mark. The higher paths are wide fire roads, making them easier to follow and less stressful than the narrow paths.
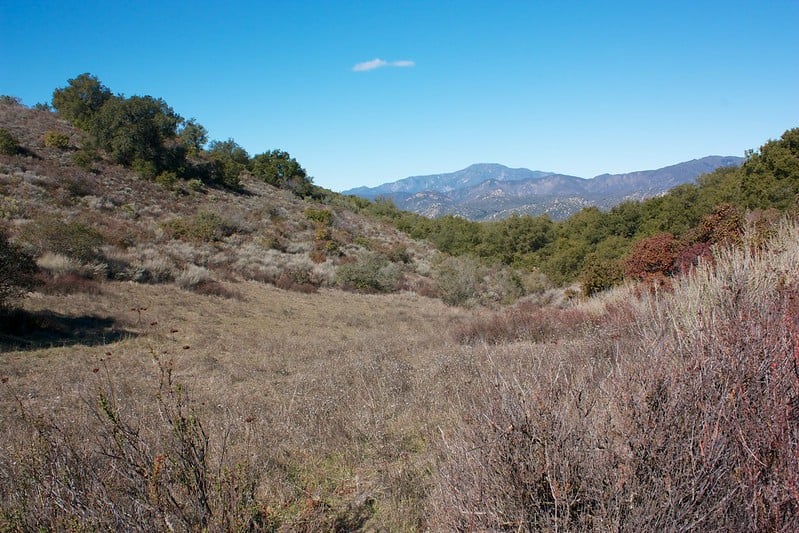
From the trail, look out for the Three Saints: Mount San Antonio, San Gorgonia Mountain, and San Jacinto Peak. Views of these mountain peaks are stunning on high-visibility days!
The upper levels of the track are well-paved and reasonably easy to follow. Boulders and shaded areas make great resting points for a quick stop, snack breaks, or a place to stretch your hard-working muscles.
The higher you go, the better the landscape becomes as the view extends beyond the canyon to more of the surrounding Southern California towns.
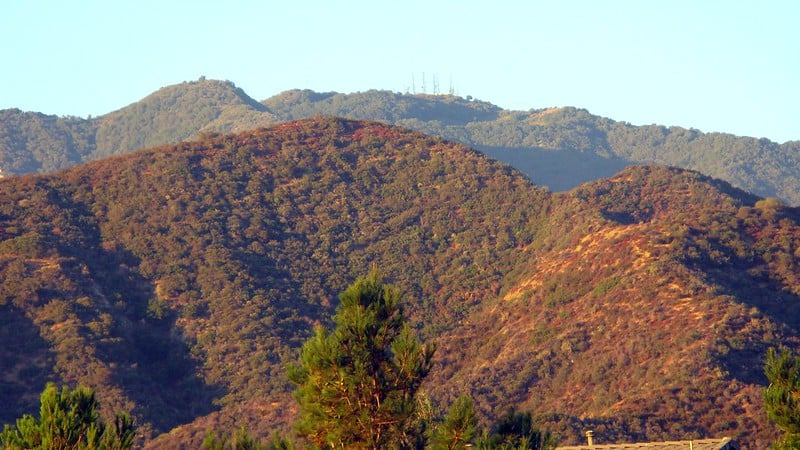
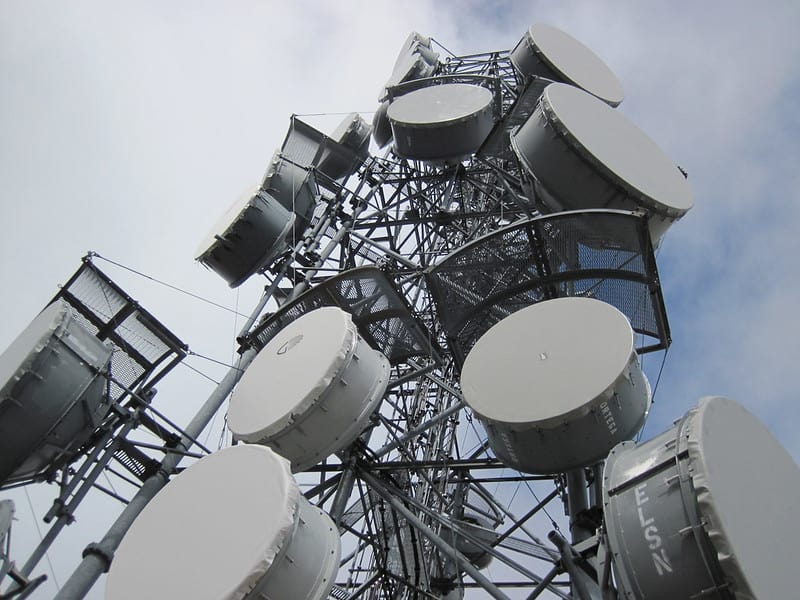
You will know you have reached the summit when you reach the telecommunication equipment and towers. Although, unfortunately, these structures fill the climax’s resting area, take a stroll around, and bask in the scenery!
Even when cloudy, the view from the top is unbeatable, and the feeling of completing the uphill battle will leave you joyous. The air feels fresh, and the breeze at the top makes your rest time even better.
On clear days, look around at the Pacific Ocean, Catalina Islands, and the various cities surrounding the park. Some claim they can even see Big Bear and San Diego from here!
Make sure you give yourself adequate time to breathe and recover for the descent because your legs will continue to work hard to help you make your way back to your starting point.
Once you have regained your composure, you will descend along the trail back down Main Divide Road to Holy Jim Canyon.
Hiking Santiago Peak via the Maple Springs Trail
Distance: 14 miles
Elevation: 4,400 feet
Maple Springs Trail also provides access to reach Santiago Peak. From El Toro Road, you will turn onto Santiago Canyon Road, which leads to Silverado Canyon Road.
Located on Silverado Canyon Road, the trailhead begins with a path through another forest area of the Santa Ana Mountains. With limited parking, make sure you get there early and have your Adventure Pass or parking permit ready.
Although this path is more extended than Holy Jim Trail, it may be more accessible, mainly due to recent vegetation changes with the Holy Fire.
Starting on Maple Springs Truck Road, you will walk along a paved road. You will follow the path at the 7.5-mile mark until you find Main Divide Truck Trail, where you will bear left. After a long stretch, this path will eventually lead you to Santiago Peak!
Hikers will return the way they came, back down onto Silverado Canyon Road. Because this trip can take around twelve hours, be sure to plan your timing to avoid lingering in the forest in the dark.
The Maple Springs Trail is an excellent route for hikers looking to train for difficult day or multi-day hiking adventures such as hiking Mt. Whitney.
***
Driving back home, make sure to take a good look at the top of the mountain. The telephone antennas and towers you were sitting around just a few hours earlier will look minuscule!
You should be proud of yourself for the epic journey you just completed! After hiking Saddleback Mountain, you deserve to relax, recover, and rest. Allowing your body to recuperate from the trip, remember that the expedition you completed is not for the faint of heart and takes skill and diligence.
Cross reaching Santiago Peak and the highest point in Orange County off your bucket list and prepare for your next adventure!

Hannah Morrison is a writer from California who received her Bachelor’s Degree in Environmental Studies from the University of California, Santa Barbara. Studying abroad in Germany and Italy sparked Hannah’s passion for travel, and she hopes to inspire others to experience all the world has to offer. Along with travel journalism, Hannah enjoys writing sustainability, wellness, and lifestyle content for online and print media.