
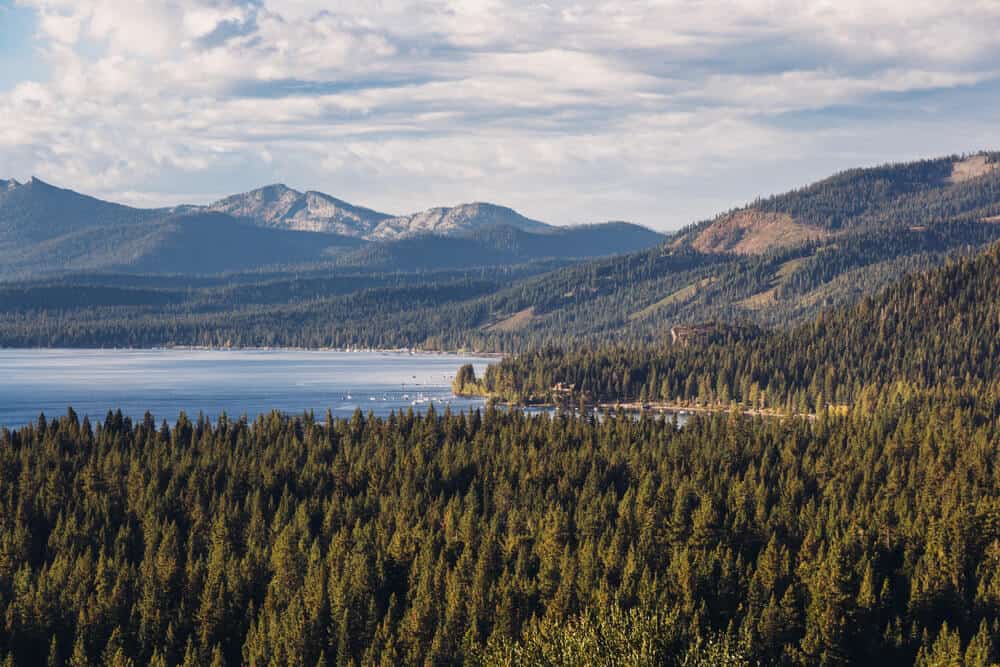
The Tahoe to Yosemite trail spans a wonderful 186 miles between two of California’s most famous spots, Lake Tahoe and Yosemite National Park.
While the new Tahoe to Yosemite Trail is a section of the much longer Pacific Crest Trail (PCT), the original TYT’s construction was actually suggested a few years before the PCT.
In 1916, the Forest Service wanted a way to connect Lake Tahoe to Yosemite, and eventually to the John Muir Trail in Yosemite’s Tuolumne Meadows. And thus the Tahoe–Yosemite Trail was born!
(Note: This article is a guide to the Tahoe to Yosemite section on the Pacific Crest Trail, also known as the TTY-PCT, not the original Tahoe–Yosemite Trail (TYT), which is no longer maintained).
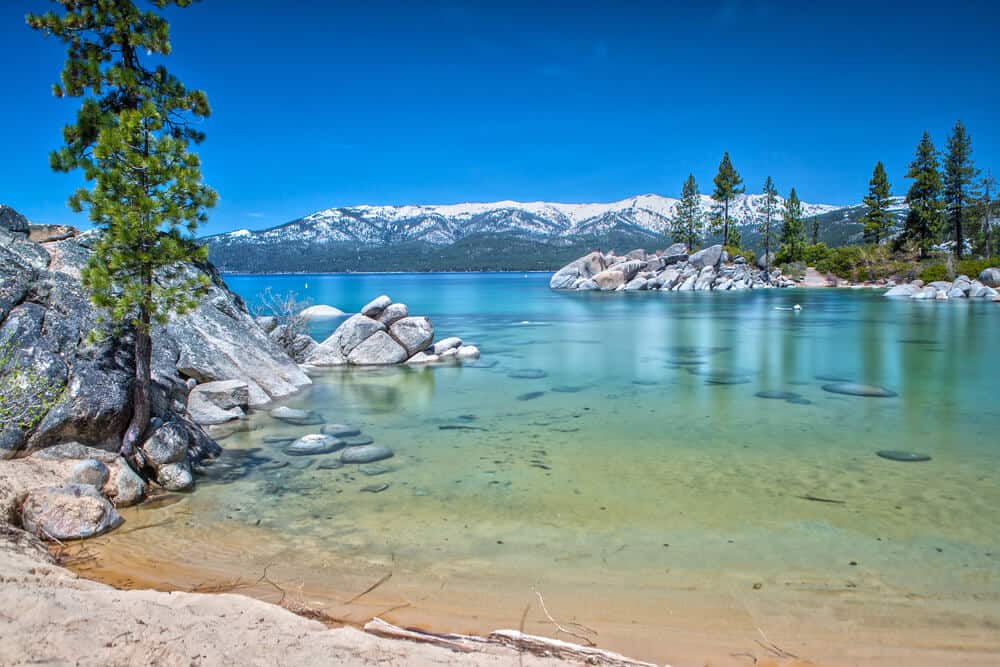
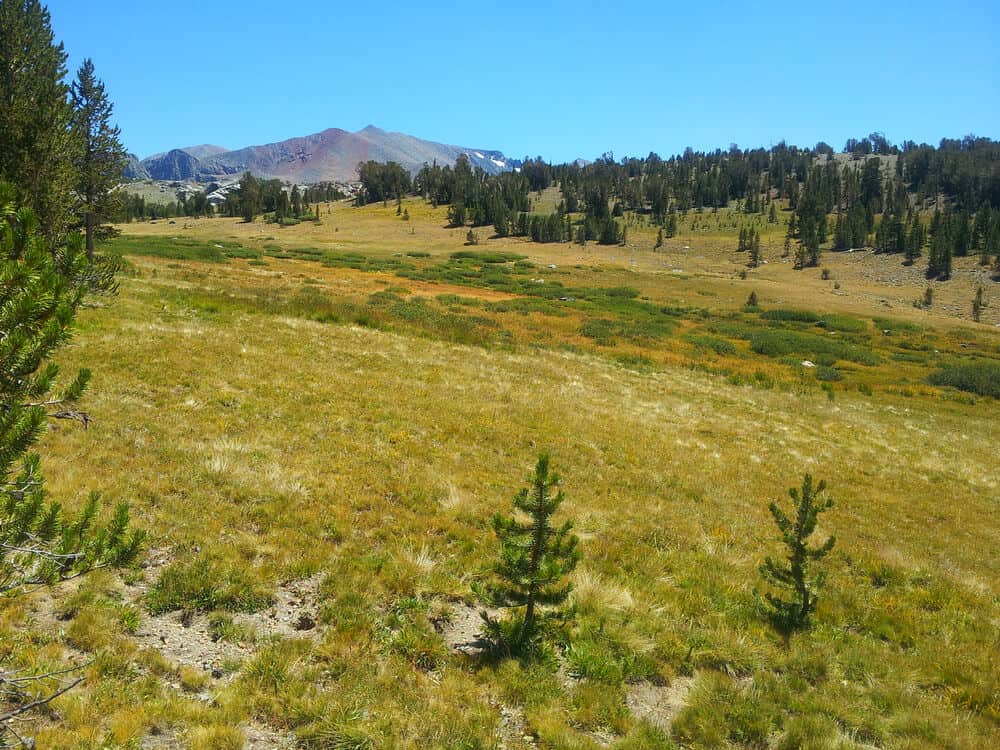
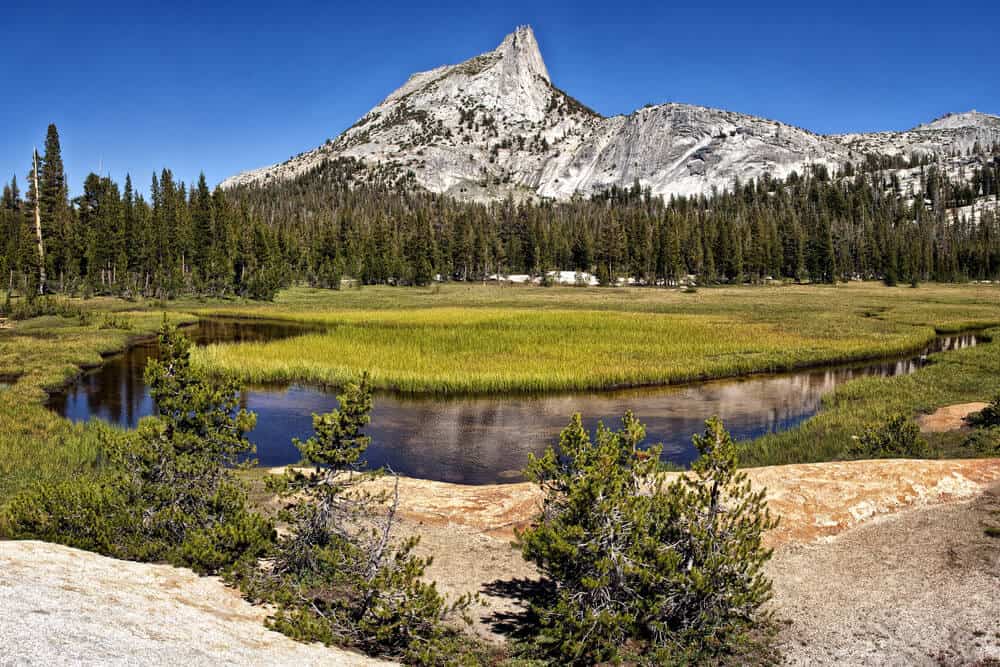
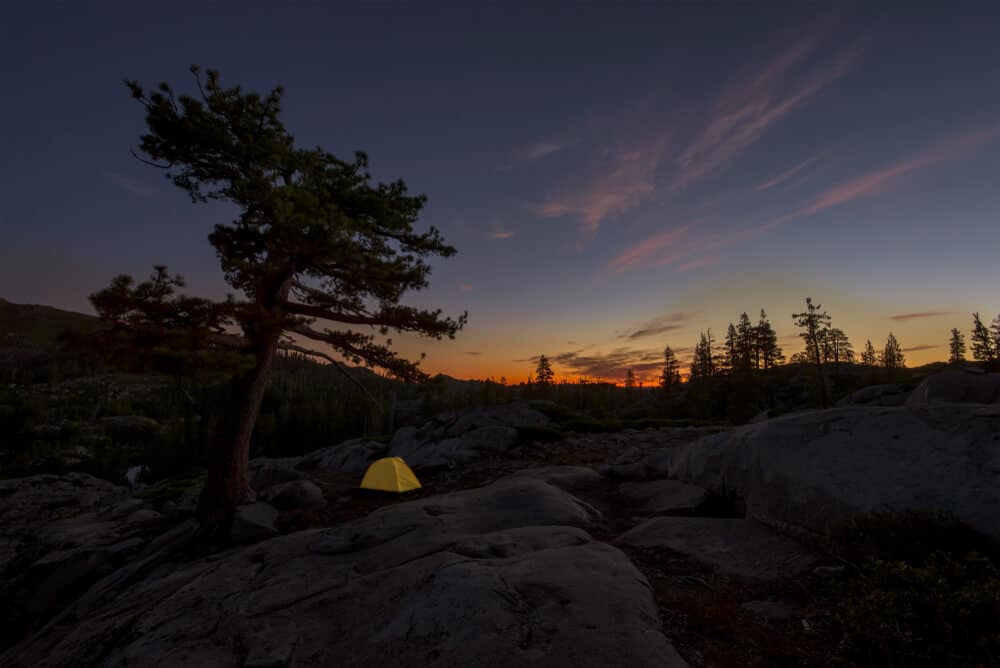
This backpacking route is unique because it offers a great variety of terrain. You’ll have the chance to swim in lakes in granite bowls, lounge near wildflower meadows, and view the tall peaks of the northern Sierra Nevadas.
The Tahoe to Yosemite Trail is a bit easier than similar counterparts like the John Muir Trail, so it makes a slightly more relaxing backpacking trip.
However, make no mistake — the Tahoe to Yosemite hike is still quite challenging! But the challenge will be worth it, as you’ll experience the best that California has to offer.
The Tahoe to Yosemite Trail at a Glance
Note: This post contains affiliate links, which earn me a small commission at no extra cost to you if you make a purchase using one of these links. Thank you for supporting this free content!
Distance: 173.5 miles
Difficulty: Strenuous
Total Elevation Gain: 40,893 feet
Total Elevation Loss: 38,531 feet
Highest Point: 10,874 feet
Wilderness Areas: 6
Time to Hike: Average of 17 days
Direction of Your Tahoe to Yosemite Trail Hike
While the hike is called the Tahoe to Yosemite Trail, some people hike the trail in the other direction, from Tuolumne Meadows in Yosemite to Lake Tahoe.
There are pros and cons to either direction. EIther way, you’ll pass through six wilderness areas, most of which are considered some of California’s best spots.
These include (in order from north to south) Desolation Wilderness, Meiss County, Mokelumne Wilderness, Emigrant Wilderness, and Yosemite National Park.
Tahoe to Yosemite (Southbound)
Many people choose to start at Lake Tahoe’s Meeks Bay and head south to Tuolumne Meadows.
The benefit of this direction is that the first half of your hike, from Tahoe to Sonora Pass, is significantly easier than the second half.
This direction allows you to ease into hiking and carrying a pack more slowly before ramping up the difficulty in the second half of your hike.
The other pro of hiking southbound is that you’ll end in Tuolumne Meadows, where there is a store and restaurant, so you can celebrate your hike with ice cream or a burger!
If you have extra time after the hike, you can also choose to hang around in Tuolumne or Yosemite Valley and take in the world-famous views.
Yosemite to Tahoe (Northbound)
When you start in Yosemite and head north to Lake Tahoe, you’ll have the benefit of getting the hardest parts over with while you still have energy!
The section of trail closest to Tuolumne, the section officially in Yosemite National Park, is quite demanding, as you continually do a lot of climbing, lose elevation, and then do another big climb.
After hitting Sonora Pass, you’ll have smooth sailing as you cruise towards Lake Tahoe.
Tahoe to Yosemite Travel Logistics
The Tahoe to Yosemite section of the Pacific Crest Trail is a point to point hike, so you’ll need to figure out how to get to and from your starting point and endpoint.
The easiest and most popular way to do this is to take two cars (which needs two people!).
Park a car at your endpoint, then take another car to the trailhead. Parking is available at the Tuolumne Meadows Wilderness Office.
After you finish, you’ll need to drive back to your starting trailhead to pick up your car. This does include driving roughly three hours between Tuolumne Meadows and Lake Tahoe twice.
If you’re lucky, you can get a friend to drop you off at Meeks Bay, where you can hike south to Tuolumne. Public transportation is available from Tuolumne Meadows.
Take Yosemite Area Regional Transport System (YARTS) into Yosemite Valley, where you can then take YARTS into towns with train stations and more public transportation options, like Merced or Fresno.
Public transportation between Meeks Bay and Tuolumne is limited, but it is possible through a combination of bus systems.
Take YARTS from Tuolumne to Highway 395 on the eastern side of the Sierras, then take Eastern Sierra Transit north on Highway 395, and finally take the Tahoe Transportation Bus from Carson Valley to South Lake Tahoe.
You’ll need to catch a ride or hire a taxi from South Lake Tahoe to the actual trailhead at Meeks Bay.
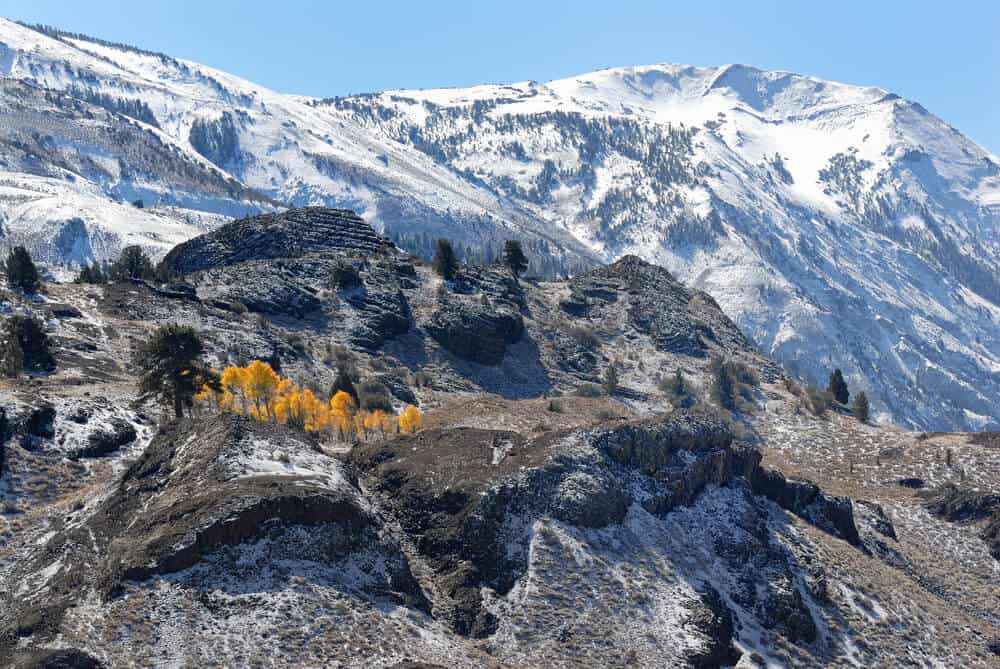
Seasonal Weather on the Tahoe to Yosemite Trail
“Sierra Nevada” translates literally to “snowy mountain range,” so it does not come as a surprise that the region is covered in snow much of the year!
The best time to catch a snow-free window is usually between late June or July through September, which is when most people hike the Tahoe to Yosemite trail.
Sometimes it doesn’t start snowing again until mid-October, but if you’re heading out on trail between October and June, be prepared for potentially dangerous snow conditions.
Make sure to check with a ranger for snow levels before setting out, as slow-to-melt snow may require you to have mountaineering skills and equipment.
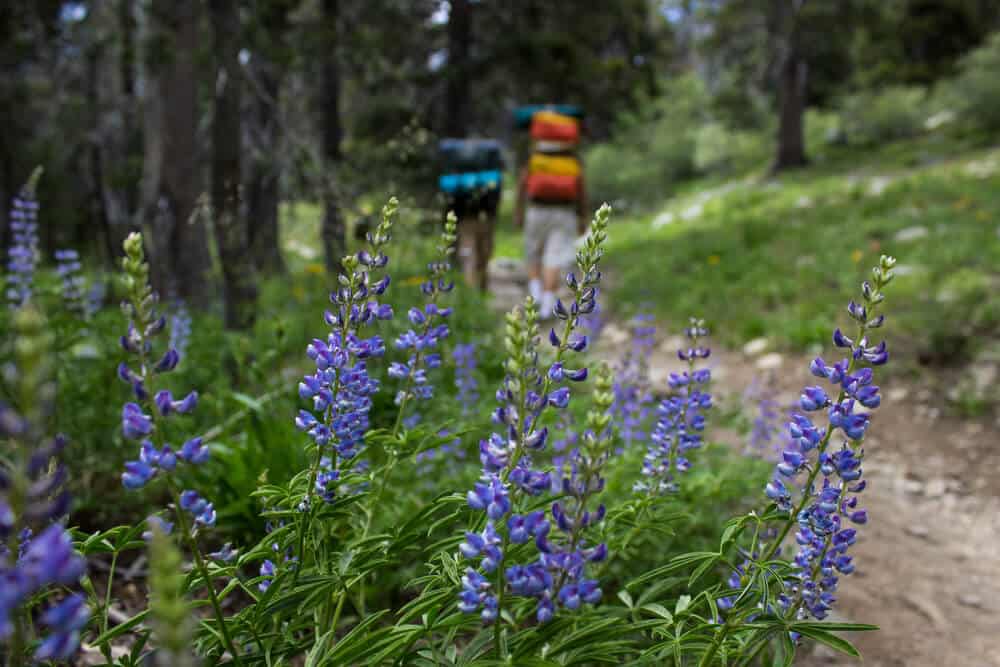
When hiking between July and September, you’ll likely encounter fields of wildflowers and plenty of water. However, there are a few sections of trail where water sources may be dried up later in the season, so it is best to check water reports before heading out and plan accordingly. Generally though, water is plentiful and should not be an issue.
The summer season in the Sierras boasts beautiful weather. You’ll likely get sunny days in the 60s-80s F, and nighttime lows around 30-40 F, although it can get colder at high elevations.
While most days will dawn sunny and bright, be prepared for occasional rain and thunderstorms. Wait for the storm to subside before attempting any exposed or high elevation sections of the trail.
How to Get a Tahoe to Yosemite Trail Permit
While you’ll be passing through multiple wilderness areas’ jurisdictions, you only need one permit from your trailhead that will cover you for the entire trail.
Generally, the easiest way to reserve a permit is to call the ranger station in charge of the forest where you are starting your hike. They will be happy to help you plan your hike and help you obtain the necessary permits.
Southbound Permits
If you are starting at Meeks Bay, the slightly farther south Echo Lake, or any trailhead in Tahoe National Forest, you can get a permit from the Lake Tahoe Basin Management Unit. Get in touch with the Forest Service office in South Lake Tahoe for more information.
If you’re starting at Echo Summit and heading southbound, you can also get a permit from Eldorado National Forest.
To start halfway through the hike at Sonora Pass, you’ll need a permit from either Stanislaus National Forest or Humboldt-Toiyabe National Forest. Permits for Humboldt-Toiyabe can be reserved online.
Northbound Permits
To hike northbound to Tahoe, you’ll need a permit from Yosemite National Park. You’ll want to reserve a permit for the Glen Aulin trailhead. Pick up your permit on your start date or the day before from the ranger station in Tuolumne Meadows.
Getting a permit from Yosemite is a bit trickier than other jurisdictions farther north, as the park and its trailheads are more popular. Permits are available 168 days in advance, and you should apply at exactly that time: the Tahoe to Yosemite hike is a popular one!
See the Yosemite Conservancy permitting website for more information, including information on walk-up permits.
General Permitting Information
While permits starting in Lake Tahoe Basin Management Unit will allow you to hike onto the John Muir Trail, permits from Sonora Pass or farther south require you to get a separate John Muir Trail permit.
If you’re hiking more than 500 miles on the Pacific Crest Trail, you may get a PCT permit from the Pacific Crest Trail Association.
You’ll also need a California Fire Permit in order to use a stove on trail. The permit does not allow you to have campfires, which are prohibited on most of the trail. These permits are not competitive to get, but are required.
See the Pacific Crest Trail Association website for more information on obtaining your fire permit.
Physical Fitness and Preparation
You’ll need to be in shape in order to do this hike, as some of the climbs are quite challenging. Not to worry though — getting in shape for the trail doesn’t have to be a chore! Training for this hike can be as simple as getting out and going hiking.
The best way to train for your upcoming Tahoe to Yosemite trail hike is to do other, shorter hikes that are still challenging.
Take the opportunity to test out your gear, including your shoes and your pack, to make sure you’ll be safe and comfortable (and able to get miles in!) once you’re actually out on trail.
Load your pack up with gear or water to simulate how heavy it’ll be once it’s loaded with everything you’ll be carrying on the trail. That way you can fix any issues that arise before you’re 20 miles from the nearest road.
When you’re not hitting the trail, hit the gym… or at least make sure your leg strength and cardio are in good working order! Don’t underestimate the power of a quick run or a session on the stairs.
While the Tahoe to Yosemite Trail doesn’t hit very many altitudes above 10,000 feet, hiking at this altitude is still difficult. Make sure to take it slow, and pay attention to your body for signs of altitude sickness.
If you start feeling the signs of altitude sickness, get to a lower elevation as quickly as possible. It can also help to take a “zero” day of no hiking once you get to around 9,000 feet to give yourself time to adjust to being at a higher altitude.
Because of the trail’s length and difficulty, the Tahoe to Yosemite Trail is not recommended for your very first backpacking trip. Try and do a few shorter overnights in order to get a sense of the skills you’ll need and how your gear works for you.
A good option for gearing up for hiking from Tahoe to Yosemite (or hiking from Yosemite to Tahoe, for that matter!) might be the Rae Lakes Loop, which is about a six-day backpacking trip that departs from Kings Canyon National Park.
It’s worth noting that you’ll be out of cell service on most of the trail, so you’ll need to know how to handle an emergency situation. Learn first aid before you go, and carry a satellite phone and navigation tools to keep you safe and happy.
Trail Etiquette
Like all other trails in California’s mountains, the Tahoe to Yosemite Trail is known for its pristine surroundings and the feeling of experiencing true wilderness. In order to keep it that way, there are some important guidelines you should follow while hiking.
First of all, try and camp in areas where others have camped before you. You can usually see a cleared, flat spot that may have logs for seating or a campfire ring. Campfires are usually not allowed due to high wildfire risk. Do not camp on fragile vegetation or too close (closer than 200 feet) to water sources.
You are required to store your food in a bear canister, which is a plastic container that bears and other wildlife can’t open. Not only will your bear can help protect animals from human interference, but it will protect you and your food from unwanted attention from black bears.
All scented items, including toiletries — that includes everything from tampons to deodorant to scented lip balms — should be stored in a bear can.
Lastly, when using the bathroom outdoors, do so in a six-inch deep hole away from your campsite and water sources. Pack out, don’t bury, your toilet paper and other waste.
Follow all principles of Leave No Trace to keep the area natural and let others enjoy the beautiful wilderness.
Food Resupplies
There is no need to carry 17 days worth of food, as you’ll have several options to do a food resupply, so limit your food carries to 5-10 days.
You’ll cross over 4 highways while hiking the Tahoe to Yosemite trail, which offer car or hitchhiking opportunities to resupply locations. Some options are closer to the trail than others.
Safety Note: If hitchhiking, listen to your gut and feel free to say no to any ride you feel is suspect, especially if you’re a woman. Try to hitchhike with at least one other person. If you have cell service, enable location and check-in with a friend, and have your phone set up for SOS (here’s how to do it on an iPhone).
It’s good to have a solar-powered portable battery pack for your phone (since you’ll likely want to use it as a camera!) so your phone can be charged in case of an emergency.
The easiest way to resupply with the least hitchhiking is to resupply at Echo Lake or South Lake Tahoe, and again at Sonora Pass. If you’re lucky enough to have a willing friend, have them meet you with a resupply at Carson or Ebbets Pass.
There are also several resupply companies, such as Sonora Pass Resupply, that will meet you with a resupply, for a fee. Check out the Sierra North PCT Section Hikers Facebook group for more information.
Your resupply options from North to South include:
Echo Lake
On the shores of Echo Lake (right on the trail), there is a small store and deli that is open during the summer. They do not accept mailed packages, but you may be able to get a ride from here into the town of South Lake Tahoe, which has a much larger grocery store.
Carson Pass & Markleeville
The trail comes out on Highway 88 right onto Carson Pass. There is a range station here, but it does not offer any amenities. Either have a friend meet you here with a resupply, or get a ride 14 miles east on Highway 88 and 15 miles south on Highway 89 to the town of Markleeville, which has a general store.
Ebbets Pass
Ebbets Pass is on Highway 4. The Lake Alpine Resort, which has a small store and mailed resupply services, is 15 miles west of the PCT crossing of Highway 4. However, this resupply is not recommended, as getting a ride on Highway 4 can be extremely difficult.
Bridgeport
The town of Bridgeport, which has a full grocery store and several restaurants, is 14.7 miles southeast on Highway 108 and another 16.8 miles south on Highway 395.
Kennedy Meadows Resort and Pack Station
Kennedy Meadows Resort has a small store and will hold packages for you. Hike or hitchhike the 10 miles west on Sonora Pass Highway. You can often get a ride back to the trail for a fee.
(NOTE: While this has the same name as Kennedy Meadows, another resort to the south of Mt. Whitney, this is Kennedy Meadows North, near Sonora Pass. Make sure you’re sending packages to the right place!).
The Tahoe to Yosemite Trail Route
The trail route is fairly easy to follow, as you’ll simply be following the Pacific Crest Trail, which generally has a lot of signage.
While there are signs for the TYT, the old Tahoe–Yosemite Trail, in Desolation Wilderness, that trail is no longer maintained, and it is recommended you follow the PCT.
It is crucial that you carry navigation tools like paper maps and/or a navigation app on your phone!
The guide below shows mileage sections for a southbound hike. There are abundant campsites at lakes and rivers within these larger sections, but make sure to check for camping restrictions.
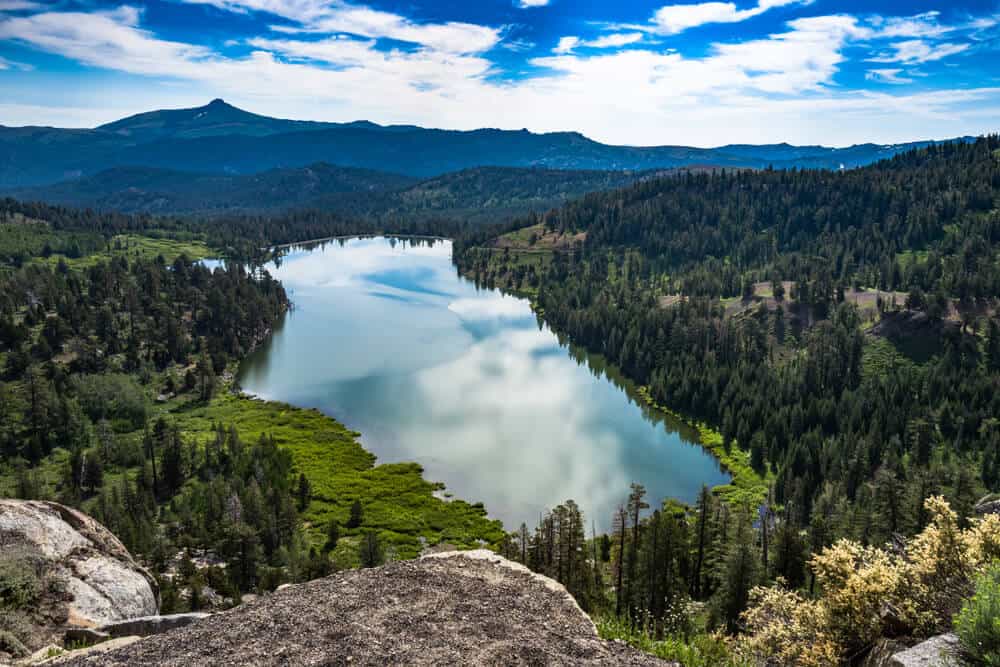
Meeks Bay to Echo Lake: 30.7 miles
Follow the Tahoe to Yosemite Trail from Meeks Bay trailhead up about 9 miles, past many lakes, towards Phipps Pass.
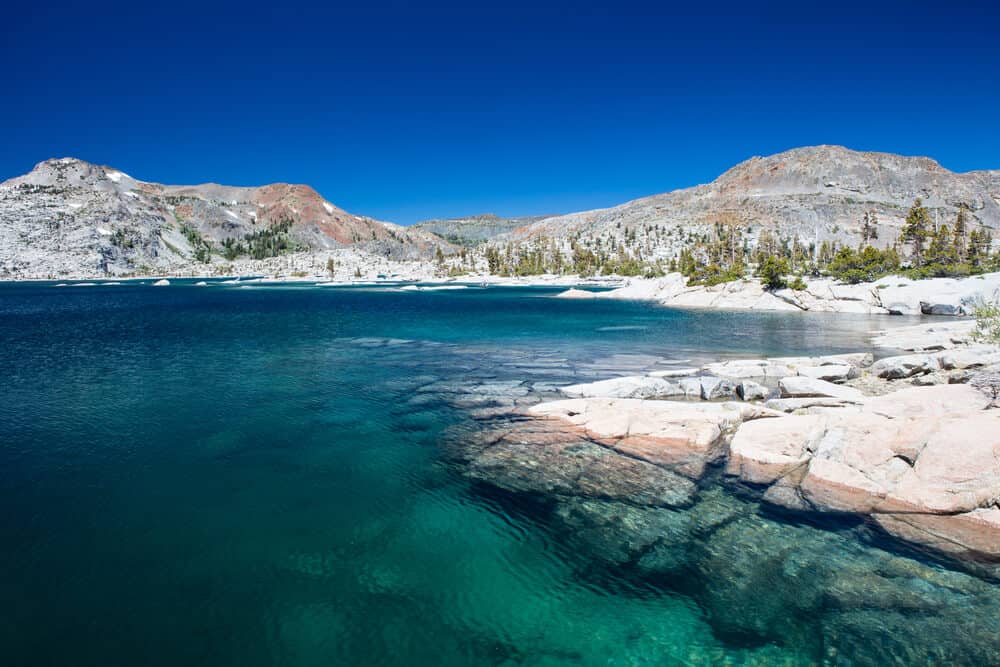
From Phipps Pass, you’ll climb to Middle and Upper Velma Lakes, which both offer great camping spots. You’ll climb up a small pass and then descend into Desolation Wilderness, where you’ll pass the large Lake Aloha.
Take a swim to one of the lake’s many rocky islands! Camp there, or climb up into a forested area and continue about 6 miles to Echo Lake. You can hike around or take a ferry across to the resort.
Echo Lake to Carson Pass: 12 miles
From Echo Lake, you’ll soon cross Highway 50 and hit Echo Summit Ski Area. From there, you’ll have a steep, long, climb up to granite-surrounded Showers Lake, where, exhausted, you may decide to camp.
From Showers, descend into a canyon and follow the Truckee River. This area is quite dry, so bring water. Finally, you’ll climb over a grassy hill and across a dry, dustry stretch of trail to Carson Pass.
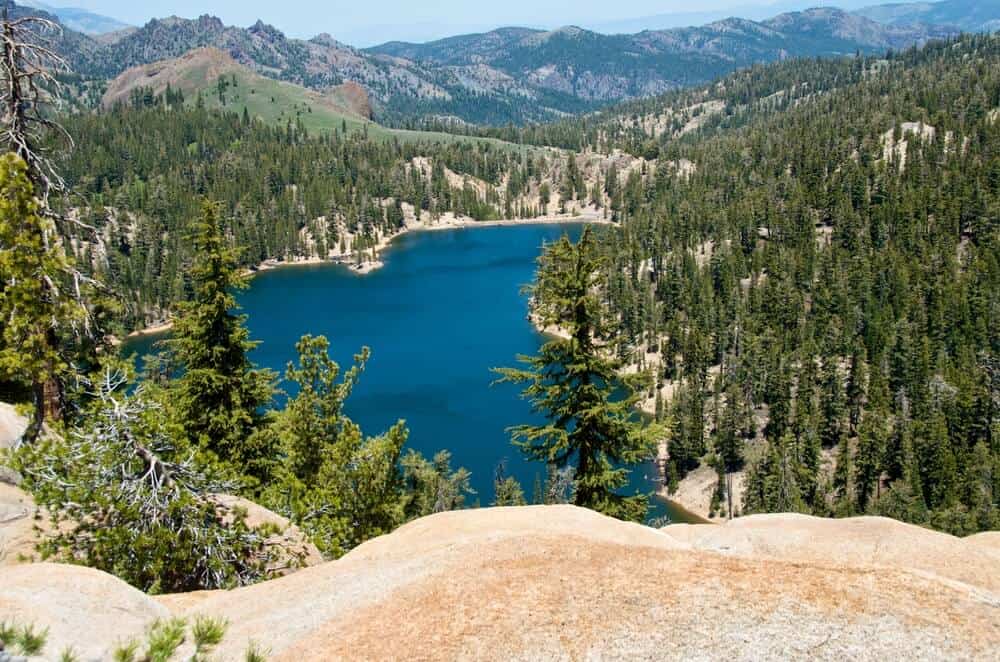
Carson Pass to Ebbetts Pass: 27.88 miles
From Carson Pass, continue on through rocky terrain past Frog Lake and into a lush valley. Climb up an easy ascent, where you’ll cross small streams and eventually reach the small Lost Lakes.
Beyond the lakes, look out for views of the 9340-foot granite formation “The Nipple” before heading down toward Summit Lake.
Past the cutoff for Raymond Lake, you’ll have a steep set of switchbacks before climbing into a valley, where you’ll pass Raymond Meadows. Skirt past small lakes and creeks until you reach Ebbets Pass on Highway 4.
Ebbets Pass to Sonora Pass: 29.35 miles
Pass into the Carson-Iceberg Wilderness, passing tiny Asa Lake and crossing Wolf Creek multiple times. After small Golden Lake, you’ll have a fairly long stretch with only river crossings, and not lakes.
Follow the Carson River through lush valleys and pine forests before beginning to climb up next to Sonora Peak. Here the trail will get steeper, with a beautiful rocky descent towards Sonora Pass and Highway 108. Sonora Pass can get very windy – don’t lose your hat!
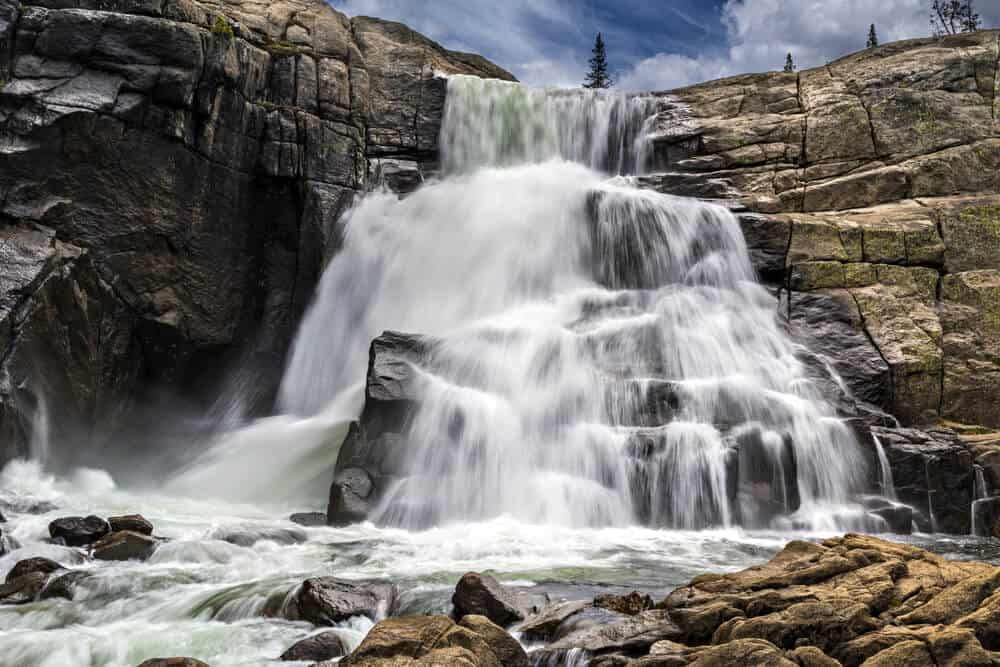
Sonora Pass to Tuolumne Meadows: 73.71 miles
The section of trail between Sonora Pass and Tuolumne is the most difficult, with lots of ups and downs, and also has the most dramatic, stunning views on trail.
Climb up out of Sonora Pass into a bowl filled with clear blue lakes and granite scree fields. You’ll descend into a greener valley, following the border of Toiyabe National Forest.
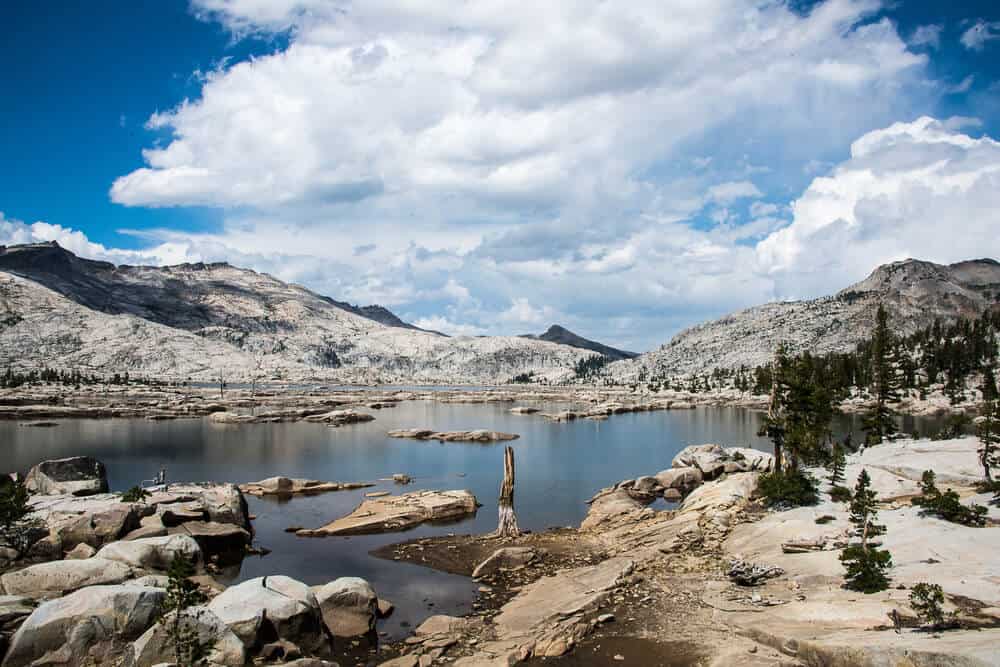
After some forested climbs, you’ll hit a stunning trio of nearby lakes, Lake Harriet, Stella Lake, and Dorothy Lake.
Descend into Grace Meadow toward Wilma Lake, then into Kerrick Canyon, a valley surrounded by steep walls. Climb up and over Seavey Pass to Smedberg Lake, then into Cold Canyon.
Finally, make the 13-mile climb first across a dry stretch of trail and then up along the rushing Tuolumne River.
Don’t forget to stop at the cascading Glen Aulin Falls before making your final climb into Tuolumne Meadows!
What to Pack for the Tahoe to Yosemite Trail
Backpacking gear is all about carrying everything you might need for anything you might encounter. That might sound daunting, but your packing list can be whittled down to a fairly simple list. Here is a rough guide to what you should bring:
- Permit
- Maps and navigation tools
The Big Five
- Tent: This lightweight North Face Stormbreak 2-person tent weighs only 5 pounds 5 ounces, which is a nice low weight given the cost. You can get lighter, but it’ll cost you a good deal more: worth it if you can afford it. It’s a good 3-season tent with loads of headroom, easy-pitching design for fuss-free set-up, and there’s plenty of room for two hikers to share.
- Backpack: For a hike this length, it’s best to get a proper fitting in a store. In case you can’t do that for whatever reason, I suggest starting with the Osprey Aether 65L (men’s version) and Osprey Aura 65L (women’s version).
- Waterproof Cover: Be sure to pack a waterproof rain cover like this Duck’s Back — the last thing you want on the trail is a compromised backpack!
- Sleeping bag: For a comfortable sleeping bag that won’t break the budget, I recommend the REI Trailbreak 30 (men’s version) and (women’s version). You can go more high-tech, but then you’re looking around the $300 range.
- Sleeping pad: You can buy a cheaper version like the REI Trailbreak Self-Inflating Pad, but I’d recommend going with the Flash Thermal — it provides extra warmth (as well as cushion and comfort from the rocky ground) when the nights can get really cold!
Clothing
- Warm clothes & extra layers: Think thermal layers as well as a fleece jacket which you can layer under a rain jacket for extra warmth. A beanie and gloves are also good protection in case of an unexpectedly cold day and won’t add much weight or volume to your pack.
- T-shirt and shorts: You’ll want at least 3 shirts (synthetic or wool, long and/or short sleeve), 1 pair of hiking shorts, and 1 pair of hiking pants.
- Rain Jacket: I recommend Marmot brand — this men’s jacket is great and stylish, and I have the women’s Marmot Precip (and have had it for years) and love it.
- Sun hat: I recommend a packable hat like this one which has a strap so it won’t blow off in gusts of wind and you can easily wear it on your back when you don’t feel like wearing it on your head.
- Hiking shoes: Bring a comfortable pair as well as 3 pairs of socks to rotate out in case some get wet. Break them in first! Like a backpack, this is something you should fit in person when possible, but if it’s not, I own and love my pair of Ahnu Sugarpine hiking boots and recommend it for other women – especially if you have wide feet like I do! For men, I’ve heard good things about the KEEN Durand boot.
Safety / Protection
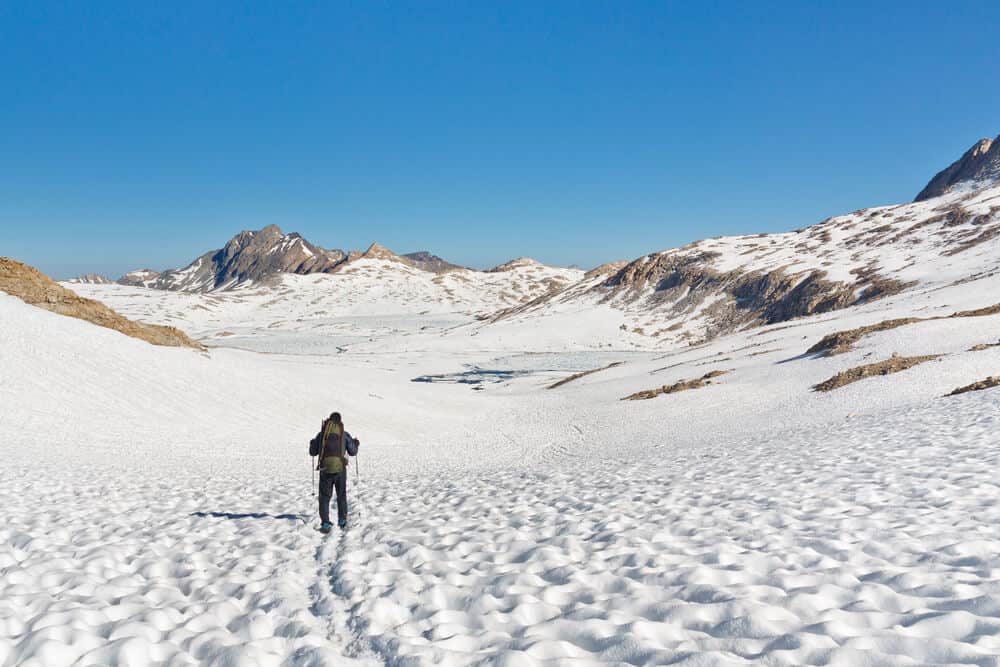
- Microspikes: These are essential if hiking in snow! Even if you think you won’t be, there’s a chance you’ll come across a patch where the snowpack hasn’t melted fully. Bring some just to be safe, like these.
- Sunglasses & sunscreen: Essential every day, even if there’s cloud cover! It’s a lot easier to get sunburned at altitude, so reapply frequently. Use a mineral-based sunscreen that is less harmful to the water supply if it gets in there by accident. Sunglasses are especially key if you come across a snowy patch of trail — the sun hitting the snow can be really blinding.
- Headlamp: For hiking after sunset or middle-of-the-night bathroom needs, this Petzl headlamp is highly-rated and affordable. Don’t forget spare batteries!
- Hiking poles: A pair of sturdy but lightweight trekking poles will help you keep your footing on muddy or rocky stretches of the trail and distribute your weight more ergonomically and give you better balance. Trekking poles can be a bit on the pricy side of the spectrum (I’ve picked the value-for-price pair I could find), but don’t skimp. Investing in a quality pair will make all the difference for your hike: think of them as essential to your kit as your backpack, tent, and boots!
- Bug spray: Mosquitos can come with a vengeance in the summer so be sure to bring some along!
- First aid kit: Start with a pre-made kit like this HART First Aid kit, which has all you need for 2 people for 2-3 days, and supplement it with extra bandages (especially blister bandages!), painkillers, and other first aid essentials.
- Trowel: For burying solid waste when using the bathroom in the outdoors.
- Phone and solar-powered battery pack: For taking photos along your trip and for trips into town, you’ll likely want your phone charged and usable in case you need it. A solar-powered portable battery pack (don’t forget your USB cable!) will do the trick.
Cooking
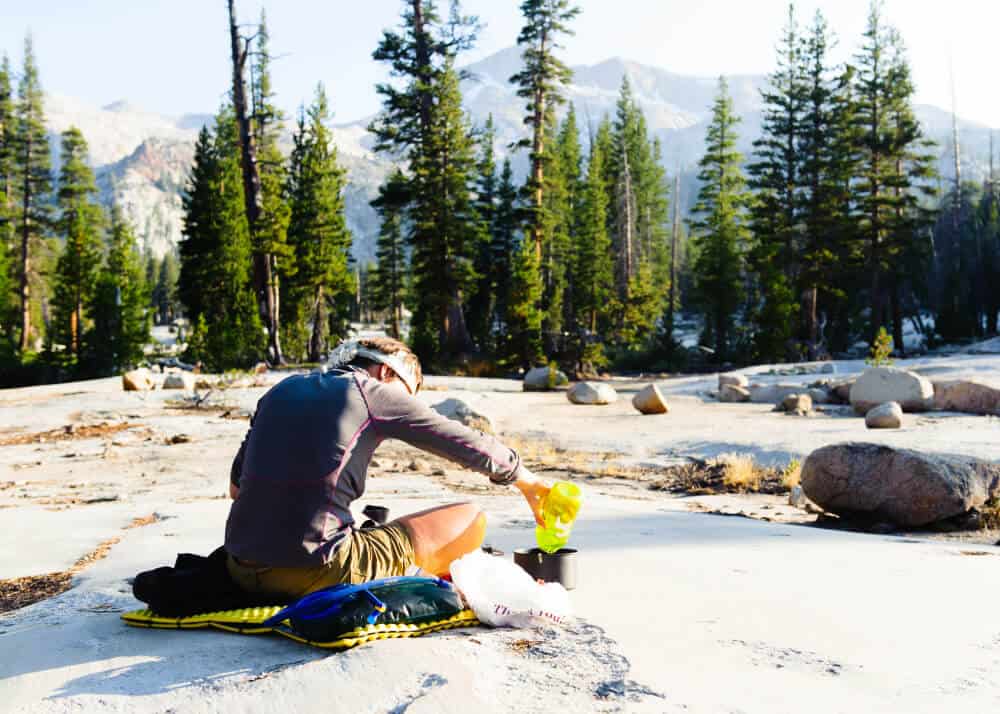
- Minimum 2 L of water carrying capacity: Essential! There are plenty of lakes along the way to fill up from, but they may be miles apart and the summer heat can be unrelenting. You’ll need that capacity to stay properly hydrated.
- Water filter: There are a wide variety of water filtration systems and treatments, but I have two preferred brands: LifeStraw and GRAYL. The LifeStraw set-up I recommend is this one: LifeStraw Flex. It has a 2-stage filter that removes over 99.999% of bacteria, parasites, and microplastics. It can be used as a personal straw (its original iteration), but it also can attach to a gravity bag (included), a water bottle, or a typical hydration bladder. Each filter can be used for filtering up to 1,000 L of water.
- Water bottle: If you just want a water filter inside a water bottle set-up, I recommend the GRAYL Geopress. It’s compact and easy to use!
- Food: I recommend freeze-dried meals! AlpineAire is a favorite of many backpackers and has tons of choices: this black bean and beef chili is a fan favorite. Patagonia also has a great selection including lots of vegan options: vegans love this spicy red bean chili. For breakfast, grab some granola with blueberries and milk packets and some tasty Kuju instant coffee!
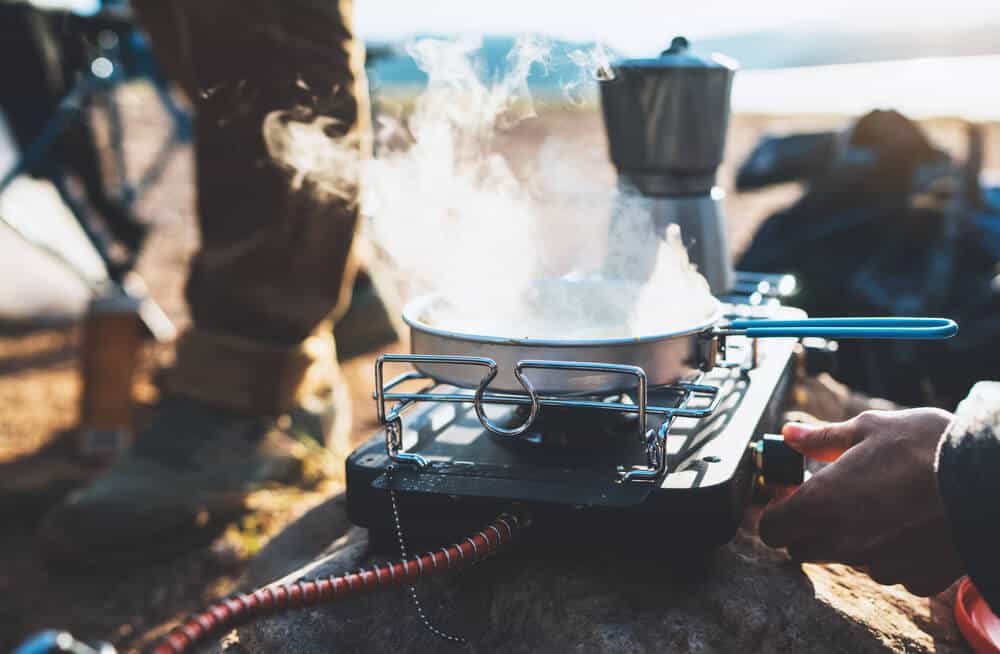
- Stove & Fuel: If eating only freeze-dried meals, oatmeal, ramen, and other “just-add-boiling-water” dinners, you can get by with a lightweight Jetboil, which weighs in at less than a pound (fuel included) and is also great for making coffee in the morning!
- Cooking pot: If you want a more “cooking-friendly” set-up including pots and pans, check out this surprisingly lightweight Optimus camp stove that comes with a frying pan and cooking pot at under a pound of weight (not including fuel).
- Bowl & utensils: Be sure to bring a spork while you’re backpacking! You’ll also want a Hydroflask cup, as well as a bowl.
- Bear can: Keep your food away from bears with this bear-resistant canister! Yes, it’s heavy, yes, it’s bulky, and yes, it’s absolutely necessary.
Pin This Guide to The Tahoe to Yosemite Trail

Lena is an outdoor recreation enthusiast born and raised in the San Francisco Bay Area. After going on her first camping trip at 3 months old, she hasn’t stopped since. While her backpacking adventures have taken her to wilderness destination across the country, California’s mountains and deserts will always be her favorite.