
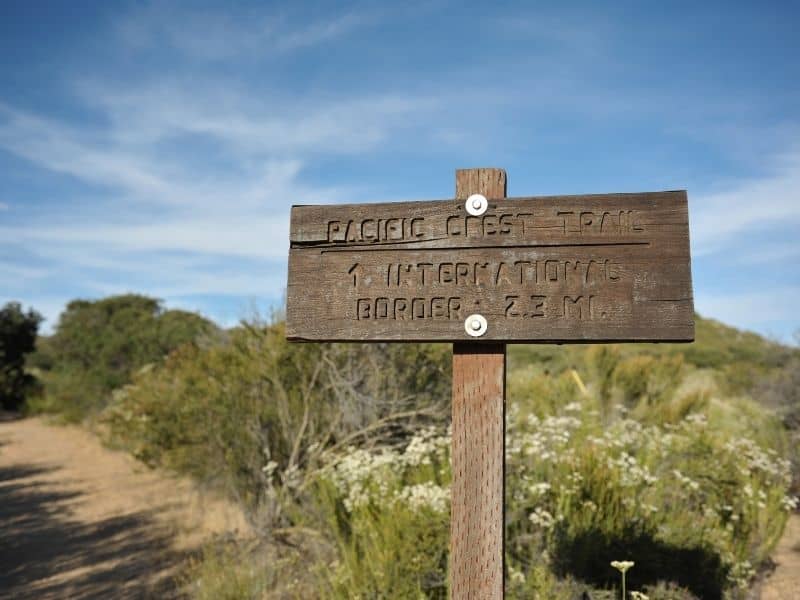
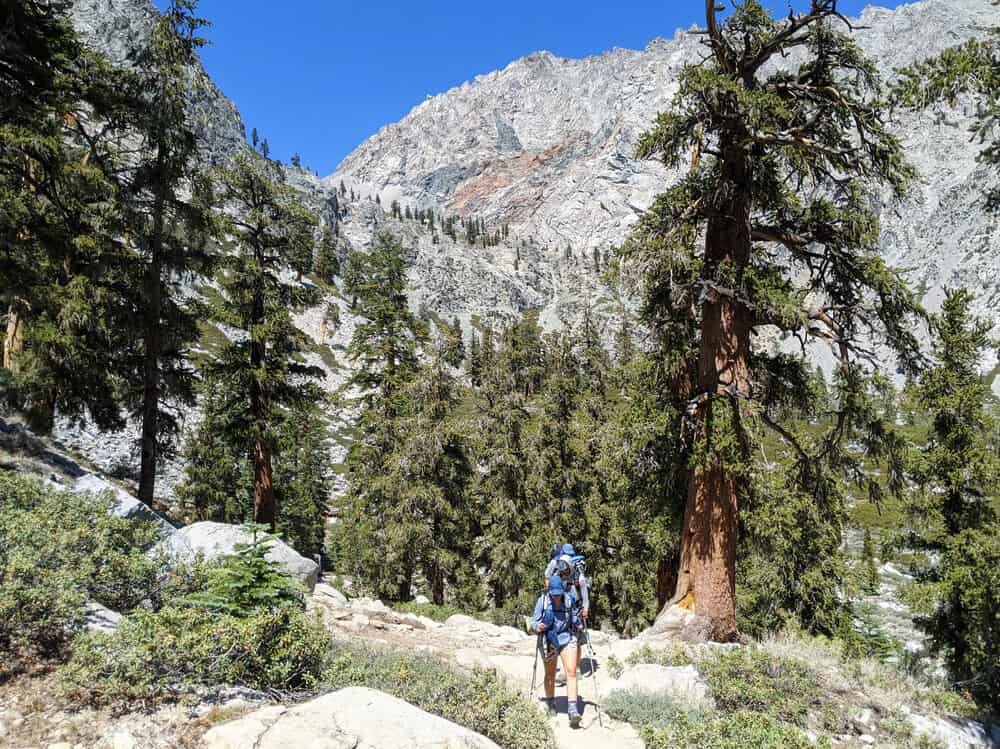
Pacific Crest Trail thru-hikers may be the only people who agonize over a single ounce while packing for a trip.
After all, you’ll have to carry everything you need to live for the next few months — in very few situations are the stakes this high!
The decisions of what to bring for hiking the PCT (and more importantly, what not to bring) may feel like too much pressure.
But don’t worry — this guide will help you understand what you should bring, and how to decide what makes the cut, from someone who has actually tackled the Pacific Crest Trail!
We’ll discuss several categories to make packing a breeze.
What to Pack for the Pacific Crest Trail: Gear Guide & Packing List
Note: This post contains affiliate links, which earn me a small commission at no extra cost to you if you make a purchase using one of these links. Thank you for supporting this free content!
Your ‘Big Three’
The ‘big three’ of backpacking are your tent, your pack, and your sleep system.
These are often called the big three because they are by far the most important (you can’t go backpacking without a backpack!).
However, the ‘big three’ name also comes from the fact that they are often the heaviest single items you’ll carry and make up much of your baseweight (the weight of your pack without food and water).
Many hikers focus on reducing the weight of their big three first, and this is what I recommend as well.
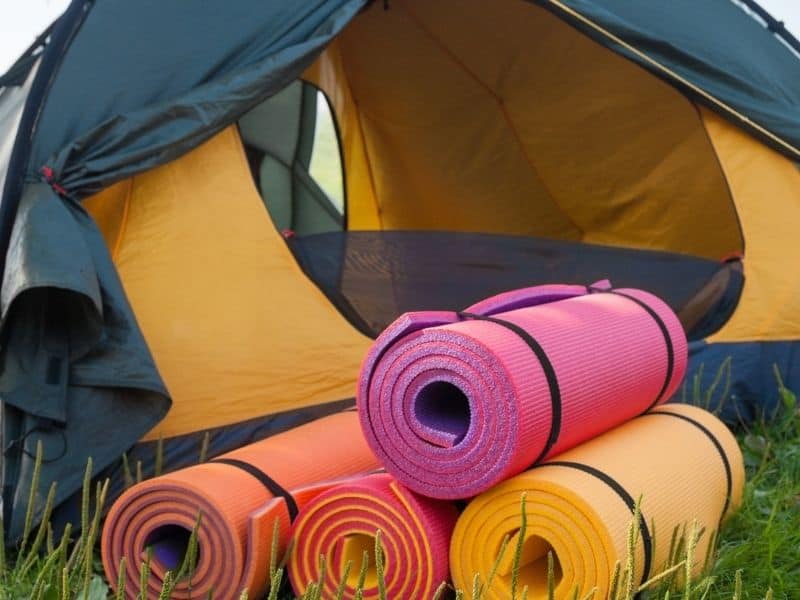
Tent
Considerations for your tent generally include what weather you think you’ll be facing, how big it is, and how heavy it is.
The ideal balance for a tent is a compromise between all three of these factors. However, that may be easier said than done!
Durability is important, as your tent will go through high wind, high heat, rain, and possibly even snow along the Pacific Crest Trail.
Personally, I’ve had a tent pole snap on me in high winds on the John Muir Trail, and I’ve also met several hikers whose tents ripped in wind.
Heat can also degrade the material of your tent, so make sure you take this into consideration.
The size of your tent is largely based on your level of claustrophobia. While a smaller tent can save weight, it can also create difficulties when you need tent space (for example, to dry out your wet socks).
If you’re planning on sharing a tent with another person, make sure you’re both comfortable getting cozy.
Lastly, weight. Most PCT thru-hikers use tents whose weights range between 1-2 lbs per person.
Tent weight is often a compromise between comfort (a larger, warmer tent with more space and thicker walls) and weight.
For example, many ultralight tents have a single-layer wall that is waterproof, while other, slightly heavier tents often have a mesh layer and an outer rainfly.
Visit Halfway Anywhere’s 2020 survey of PCT hikers to see a list of hikers’ favorite PCT shelters. (Hint: most of them are Big Agnes).
While I was on the PCT in 2021, I saw mostly Z-packs tents, Tarptents, and other similar ultralight single-layer options, while I personally hiked with (and loved!) a 2 person REI Quarter Dome SL 2 tent.
Pack
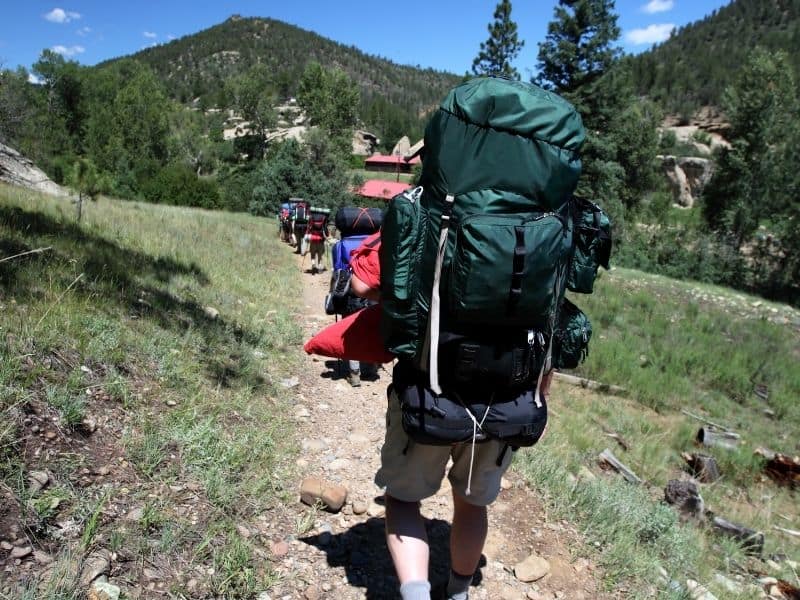
There are two most important factors for thruhiking packs. First, it has to fit everything you need. Second, it has to be (reasonably) comfortable.
No backpacking pack is ever going to be truly comfortable, unless you’re super ultralight. The average thruhiker backpack size is about 54 liters.
This may be on the larger size, but it’s certain to be able to hold everything you need!
The best rule of thumb when balancing pack size and pack weight is: you will carry as much as your pack can fit.
While this may sound simple, what it really means is that you should only give yourself as much space as you really need.
Trust me: you’re likely to fill any extra space with seemingly crucial items, that may not be quite as necessary as you think.
As with all gear, the pack is highly personal to thruhikers.
I met some PCT hikers who I mistook for day hikers because their packs were so small, while others carried 50 pound packs!
If you can, it’s a good idea to test a few packs before deciding on The One.
I recommend trying an ultralight pack with a full frame (like the Osprey Exos/Eja), as well as a pack with no frame (like Hyperlite Mountain Gear packs).
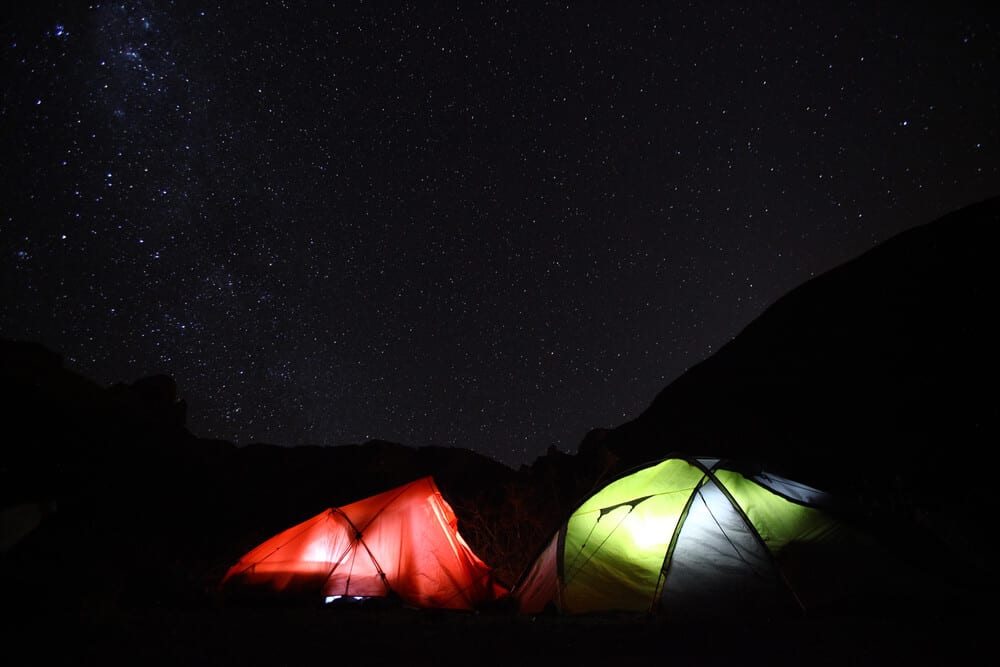
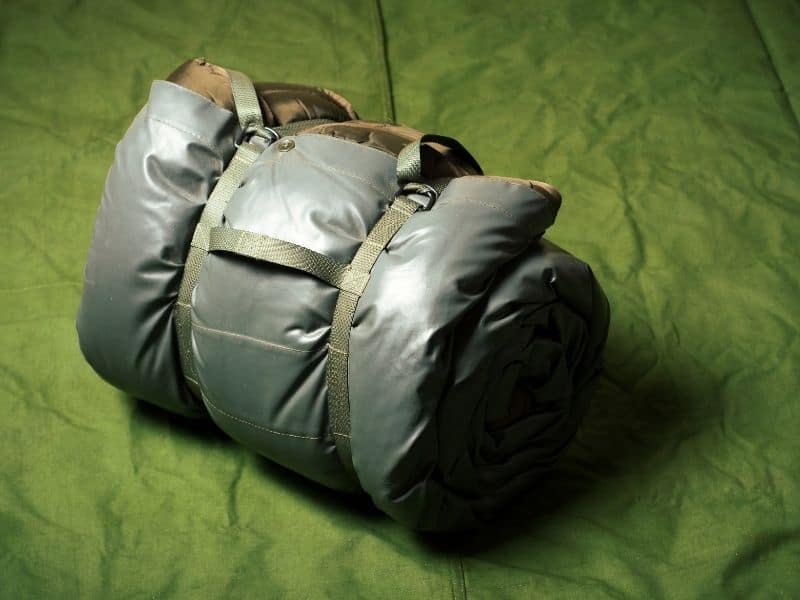
Sleeping bag or quilt
The sleeping system can be a difficult decision, as you’ll experience a wide range of temperatures on trail.
While some hikers choose to switch out their sleeping bag/quilt for a warmer or cooler one when weather or conditions change, this can be more trouble than it’s worth.
The benefits of a quilt are that they’re lightweight and a bit easier to regulate your temperature inside, since you can always stick a foot out.
Some people don’t find them was warm as sleeping bags though, since it’s harder to “mummy” down into the bag if it doesn’t zip.
The average thruhiker sleeping bag temperature rating is about 18 degrees.
This is generally warm enough to keep you warm in the high mountains and not so warm that you’ll be miserable in mid-range temperatures.
If it’s really hot, such as when you’re on the Southern California desert portion of the PCT, you often don’t need a sleeping bag at all!
Some people, myself included, choose to carry a sleeping bag liner. I used it inside my quilt when I needed extra warmth, but it was also nice as a single layer when it was hot out.
A liner also saves your sleeping bag or quilt from being exposed to all the dirt and oil on your body, and can increase its durability.
Sleeping pad
The main question when it comes to sleeping pads is generally foam versus inflatable.
Besides that, you’ll likely want to maximize how warm the pad keeps you (read: a warm R-value) while also minimizing weight.
A great goal to aim for is about 12oz-1lb with an R-value of 4 or above.
Some sleeping pads are lighter, of course, but these specs will get you through cold nights while not taking on too much extra weight.
Some people do sleep warmer or colder than others, so take that into consideration when choosing a sleeping pad!
Here’s the pros and cons breakdown for each.
| Foam sleeping pads | |
| Pros | Cons |
| Lightweight | Lower R-value (keeps you colder) |
| Durable (they can’t pop!) | Less comfortable |
| They double as a seat during the day | They get thinner over time |
| Inflatable sleeping pads | |
| Pros | Cons |
| Lightweight (depending on which you get) | Delicate, can pop easily |
| More comfortable | Inflation valves often break |
| Higher R-values (keeps you warmer) | Some are very noisy at night when you slide around |
Clothing
The choice of clothing is highly variable from person to person. Some people like to have a change of clothes, and alternate outfits every day.
Others wear one set of clothes hiking and one set of clothes in town (which helps when you need to do laundry). Some people just wear the same outfit all the time.
The number of “outfits” is a choice you can make for yourself ahead of time, although it may change once you’re on trail.
For example, I started with two full outfits, but found that I wore the same long-sleeve shirt and shorts all the time, and never touched my second outfit.
Clothing will also change depending on weather. The list below is a list of all the clothing you might need at some point on your hike, but you might not need it all at once. Some hikers choose to send layers ahead or send them home.
- Shirt – Most thru-hikers wear lightweight long sleeves for sun protection. Some are button down, while others are hoodie-style lightweight long sleeves.
- Shorts – Some hikers choose to hike in pants for the sun protection, but many hike in lightweight shorts.
- Wool socks – Wool socks are warm, odor proof, and will keep your feet warm even when they’re wet. Many hikers choose Darn Tough socks because of their lifetime warranty, but any thin, wool socks meant for hiking will do.
- Underwear (& sports bra if applicable)
- Sun hat – Because of high sun exposure, many hikers choose either a wide-brimmed hat, or a sunhat with the hood of their hoodie-shirt pulled up to protect their neck.
- Pants – for hiking and/or for warmth, depending on your style.
- Warm jacket
- Mid-layer, like a wool shirt
- Raincoat (and rain-pants if the weather calls for it) – Your raingear can come in handy while all your other clothes are in a washing machine in town!
- Warm hat – Keeping your head warm with a beanie or other warm hat is absolutely necessary in the cold. Warm hats are also helpful to quilt-sleepers, as they can replace the hood of a sleeping bag.
- Gloves
- Hiking shoes or boots – Most hikers wear trail runner sneakers rather than boots. These dry faster, so they’re great for shoes-on river crossings, and they’re lightweight. If you’re hiking in snow or have weak ankles, though, you may want boots.
- Lightweight camp shoes – Camp shoes are highly debated and very optional! Crocs or flipflops are a popular choice.
Electronics
Electronics are another area that is highly variable based on the person.
Some hikers choose to truly go off the grid, while others watch movies in their tent every night.
That said, most hikers these days have a smartphone that carries downloaded maps on apps like FarOut (formerly Guthook) and Gaia GPS.
These are the electronic items that most hikers recommend bringing:
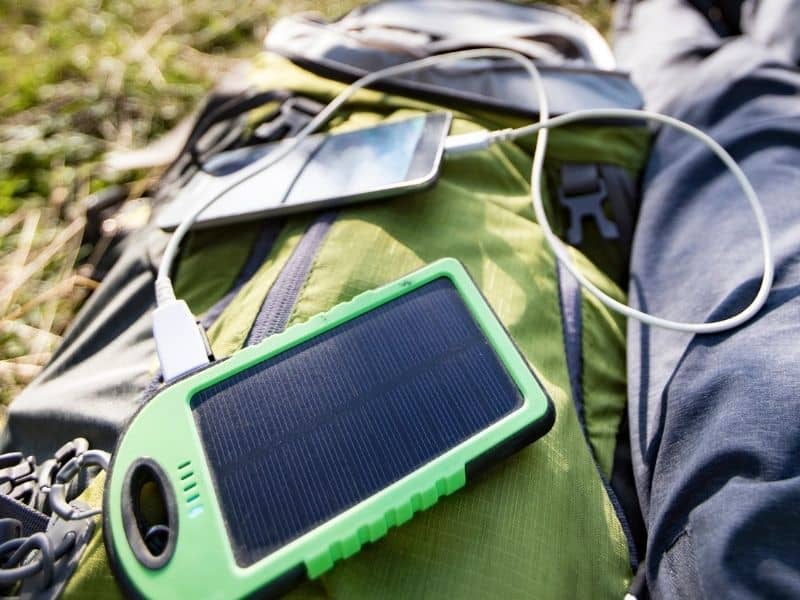
- Extra charging capacity – External battery or solar charger. The solar charger is nice because you can charge it on trail, but it can be finicky and relies on sunny days. External batteries take time to charge in town, but are more reliable than many solar chargers.
- Headlamp & extra batteries or a way to charge it – Rechargeable headlamps are a nice way to decrease the weight of extra batteries but they do require charging, which takes time.
- Phone & charger – Don’t forget your charging cord and a block that plugs into the wall.
- Earbuds (optional) – Many people hike without listening to anything in order to simply enjoy nature. However, it’s pretty common for thruhikers to also spend some time listening to music or podcasts to break up their day or get them up a hill!
- Camera (optional – many hikers use their phone)
- Watch – Some hikers use smartwatches in order to track steps or mileage. However, this is another item that needs charging, so a lot of hikers choose to rely on simple, cheaper watch options.
Food & Water
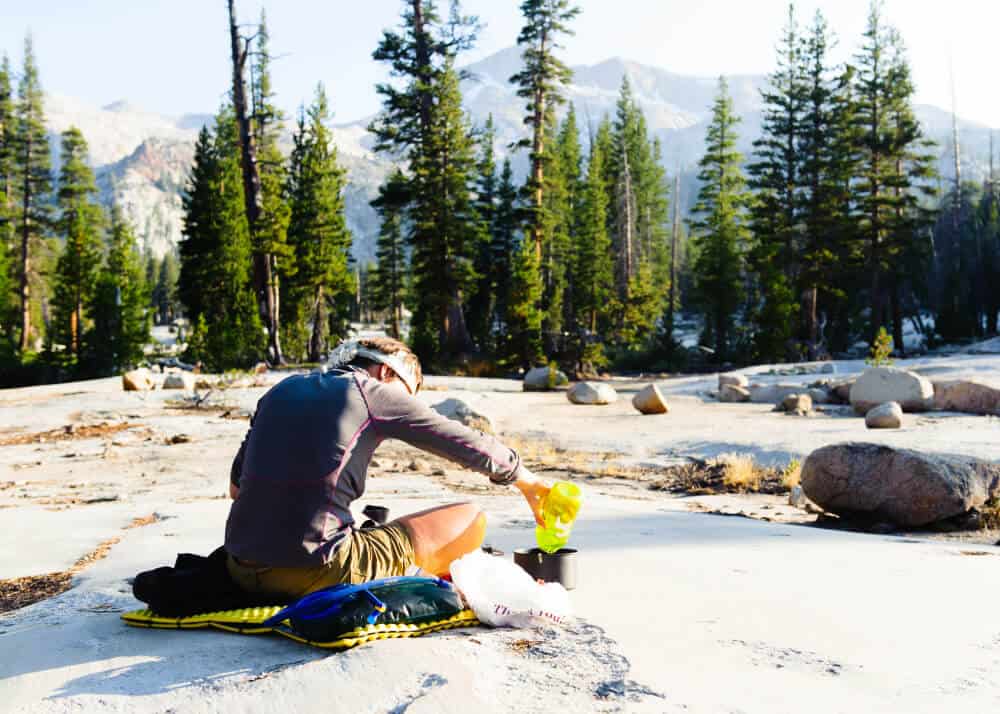
Some hikers choose to cold-soak their food, meaning they don’t bring a stove or any way to cook their food, instead relying on water and time.
This is a more lightweight option and means you only need a small container for your food, but it does take away the comfort of hot food.
For those of us non-cold-soakers out there, here’s what you’ll need:
- Stove – Most hikers use a pocket rocket style stove, although some use alcohol stoves.
- Pot – Lightweight titanium pots are popular!
- Utensil – Titanium sporks are a nice, durable spork option. Some hikers bring plastic forks or spoons, or even chopsticks (although this makes soup difficult…).
- Lighter – And possibly a backup lighter. Make sure to keep an eye on your lighter’s fuel, as they can run out.
- Fuel – Make sure you pack enough fuel to get you to your next resupply. There’s nothing worse than carrying heavy macaroni and cheese that you have no way to cook.
- Water filtration system – Drinking unfiltered water on trail can not only make you sick, but can even end your hike. You definitely want a filter, not just water purifying chemicals, as you’ll likely be getting water from some slow-drip or muddy water sources. Most people use a Sawyer Squeeze – make sure you bring a plastic squeezer bottle (the Sawyer fits on standard screw top bottles), as the bags that come with the Sawyer tend to break.
- Water bottles or other water carrying system – enough to carry at least 3 liters. For sections where you know you’ll have a long water carry, make sure you get more bottles in advance. Some sections you’ll want to be able to carry at least 4L, but you won’t need that capacity all the time.
- Food storage bags – The bear-proof Ursack and the smell-proof Opsack are great options, although not everyone carries a food storage bag.
- Bear cannister – Only required in the Sierra.
Health & Safety
This is perhaps the most important section, as the items on this list can save your life or prevent serious harm.
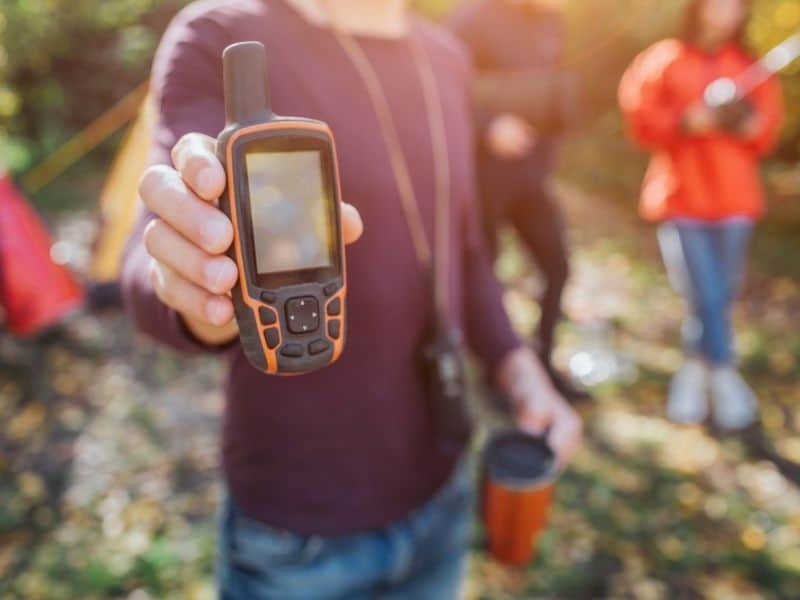
- Satellite phone – Highly recommended- most thruhikers these days have one and it can save your life. Most hikers use the Garmin InReach Mini, although there are other brands out there.
- Navigation tools: Maps of some kind – Most people use an app like like FarOut, previously Guthook Guides). Include backup maps in case your phone dies. I also recommend using Gaia GPS or another service that provides a more zoomed out view of the area in case you ever need to evacuate.
- First aid kit – At the very least, your first aid kit should include blister care, a wrap bandage, ibuprofen, anti-histamines, an anti-diarrheal, a laxative, and anti-nausea medicine. Read more about ultralight first aid kits.
- Sunscreen – At least SPF 30, if not higher. You’ll be at high altitudes where it is easier than you may expect to get burned.
- UV sunglasses – Whether in the desert sun or the snow glare of the Sierra, you’ll want eye protection.
- ID (including a passport if you’re hiking into Canada from the U.S.)
- Small amount of cash (some campgrounds require cash payments) and debit/credit cards
- Toothbrush & toothpaste – Some hikers even cut their toothbrushes in half to save weight! Miniature toothpaste tubes can be supplemented along the way.
- Any personal medications – If you do take medications out of their original packaging, it’s a good idea to keep the prescription label with the medicine.
- Trowel & toilet paper – Leave no trace and always do your business in a cathole at least 6 inches deep. Many wilderness areas ask that you carry out your used toilet paper.
Miscellaneous
- A physical paper copy of your permit is required on the PCT. Don’t print it too early in case you need to change your permit. But don’t just have a copy on your phone, as you may be asked to produce your paper copy.
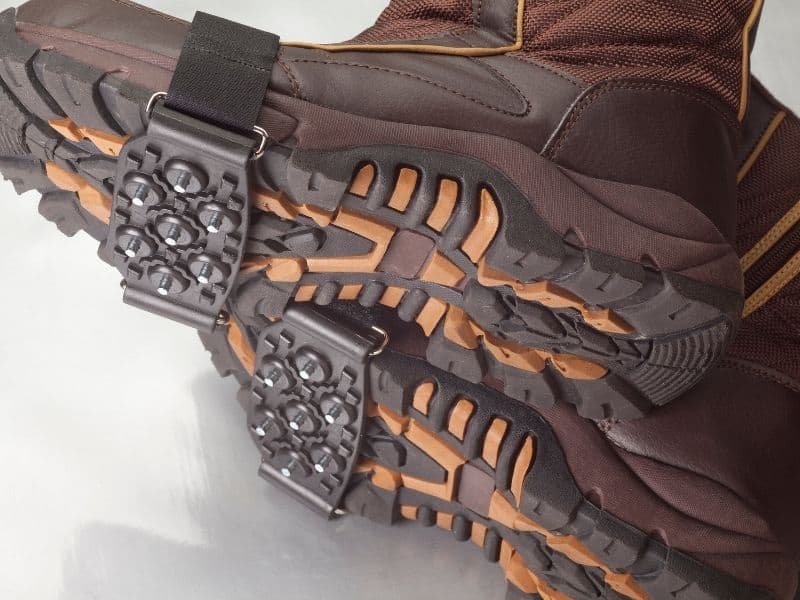
- Microspikes & ice axe if you’ll be hiking in snow. Mountaineering experience and training is highly recommended, as hiking in snow can be very dangerous.
- Trekking poles – I met only a single thruhiker in 2021 who did not use trekking poles. Some use trekking poles as their tent poles, while others just rely on them in the day to save their knees!
- A luxury item – For some this is not necessary, but many hikers have one item they bring that isn’t strictly necessary, but that will make them happy. After all, you’re living on trail for several months, so it’s important that you bring little amenities if they’re important to you. For me, that was a Kindle so that I could read books in my (honestly limited) spare time not hiking. For others, that was an instrument like a ukulele or backpacking guitar. While yes, you should pack smart, don’t let your baseweight control you! Bring what you’ll need to make you happy.
So that’s the extensive guide to gear! I hope it was helpful at getting you ready for your upcoming PCT adventure.
Still planning more of your PCT hike? Read more about how to prepare for your PCT thru hike in this article here.

Lena is an outdoor recreation enthusiast born and raised in the San Francisco Bay Area. After going on her first camping trip at 3 months old, she hasn’t stopped since. While her backpacking adventures have taken her to wilderness destination across the country, California’s mountains and deserts will always be her favorite.