
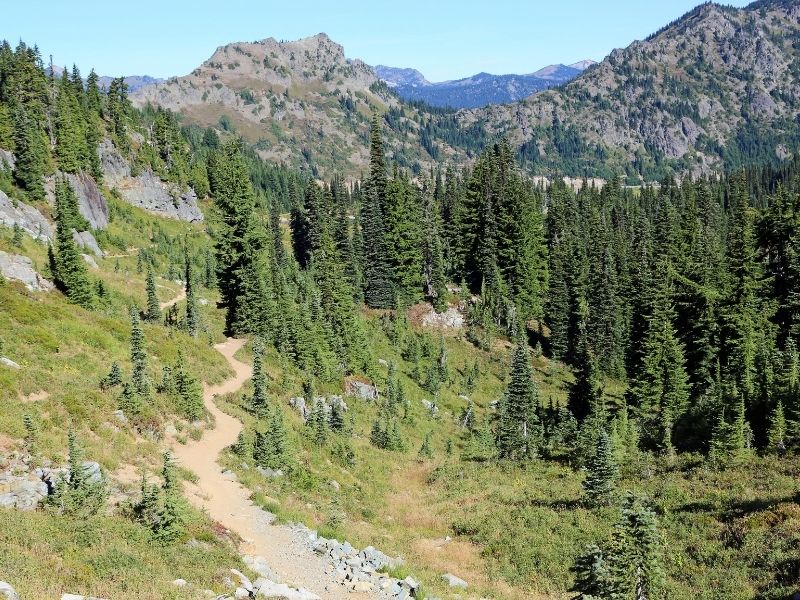
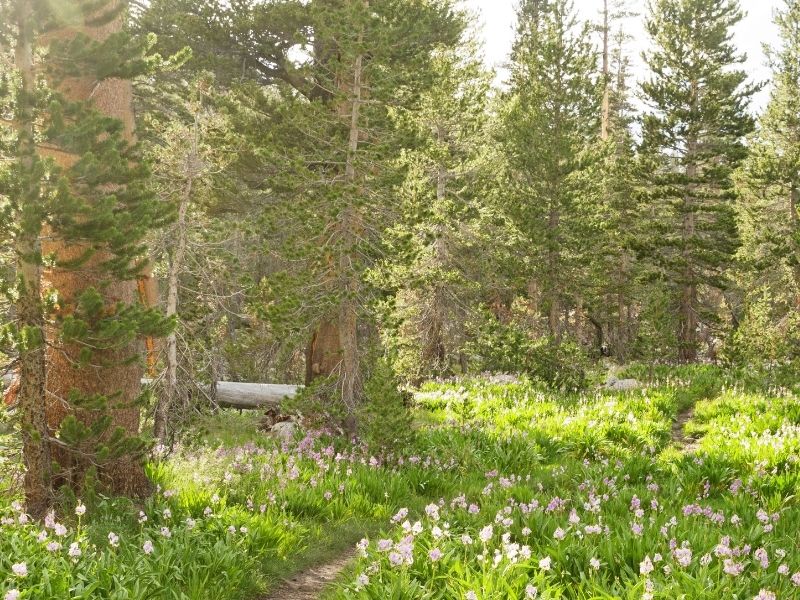
So you’re thinking about a Pacific Crest Trail thru-hike… This probably means you know you like hiking, and you want to do it for a long time.
Congratulations! You’ve made it this far. The decision to attempt a thru-hike is exciting and is the first step in your planning process. But what now?
This preparation guide takes you through every step of the PCT thru-hike planning process, from getting your permit to taking your first step on trail.
While some hikers hardly plan beyond getting their PCT permit, others may take months to plan every day of their hike (we recommend something in between!).
Whatever your style, let’s get ready for the adventure of a lifetime: here’s your guide to planning for a PCT thru hike — from someone who’s actually planned one!
PCT Permits
Note: This post contains affiliate links, which earn me a small commission at no extra cost to you if you make a purchase using one of these links. Thank you for supporting this free content!
The first step in securing your permit is deciding how far you’d like to hike along the Pacific Crest Trail.
For hikes shorter than 500 miles, a PCT long-distance permit is not necessary, and you’ll have to get permits for the specific areas of jurisdiction you’re hiking through.
For hikes longer than 500 continuous miles, you will need a permit from the Pacific Crest Trail Association (PCTA).
The PCTA releases permits online for northbound (NOBO) hikes in November and January. Permits for southbound (SOBO) or flipflop hikers are released online in January.
Check the PCTA website for exact release dates, specific quotas, and information on their online permit lottery system.
Permits are limited and subject to a quota system, so make sure you mark the release dates down in your calendar so you can snag a permit as soon as they are available!
Note: International hikers will also need a U.S. visa or ESTA. Keep in mind that this will typically restrict your time in the USA to 90 days or less. Check out the PCTA’s advice for international hikers.
Which Direction Should I Hike?
The first step in getting your permit is deciding which direction you want to hike in. This is mainly determined by two things: your schedule and the weather.
The first step is determining how many miles you plan on averaging per day. This will determine how early you need to start.
The total mileage of the PCT is 2,650 miles. Averaging 20 miles per day, your hike will take you about 133 days, or a little over 4 months (note that this does not include zero days when you don’t hike). The average full PCT thru-hike is between 3.5-5.5 months.
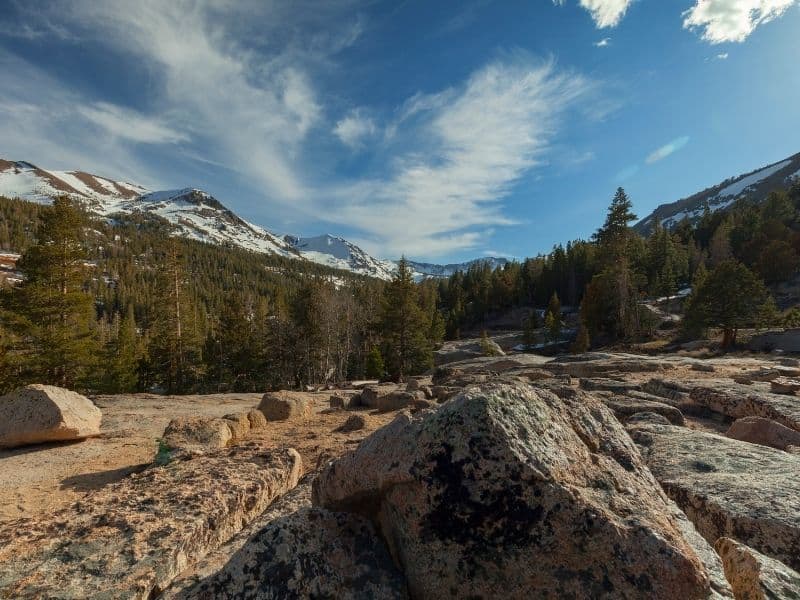
The next step is determining your weather window. The main weather limitations on the PCT are the desert heat in Southern California, snow in the Sierra Nevada mountains, and snow as you near the Canadian border.
Depending on the direction you’d like to hike, you should try and schedule your hike to hit low heat in the desert of southern California, low snow in the Sierra, and low snow in Washington.
This chart provides a high-level summary of the average weather conditions for each section of trail. Hiking in green months is usually fine, hiking in yellow months is usually fine but may experience late or early snow storms.
You are likely to experience high heat or snow when hiking during orange or red months.
Where data is available, average snowpack in inches is provided. Data is from Postholer.com and represents the averages from 2004-2019.
Some data for highland snow in Southern California and Northern California is missing due to lack of available data sources.
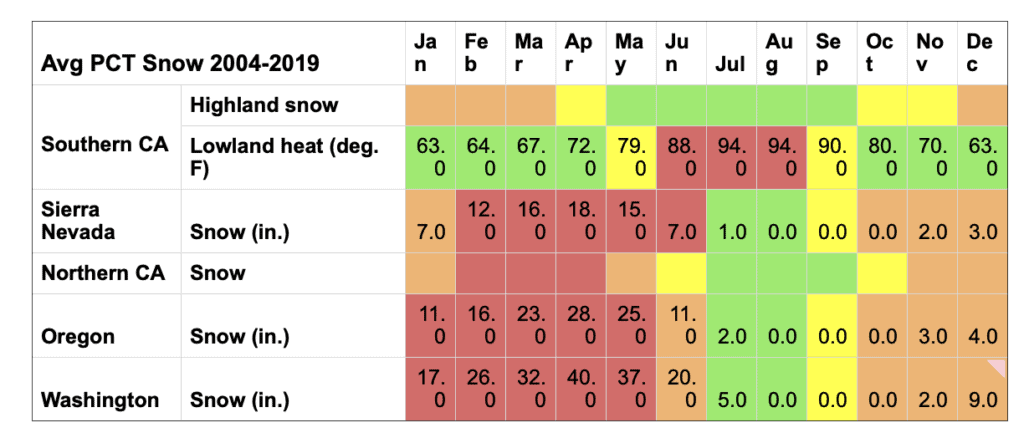
Note: This chart was created by the author, Lena Milton, and her friend, Michael Demanche. Please feel free to use for your own personal planning but do not reuse without permission.
Note that this chart presents the past averages for heat and snow. Timing of snow levels change from year to year, as do heat waves!
When hiking in an orange or red month, ensure you are prepared for extreme and unexpected weather shifts. Hiking in orange and red months is recommended against.
While people do hike in red months (for example, through the desert in June), it is crucial that you are prepared to deal with extreme weather and get off trail if it becomes unsafe).
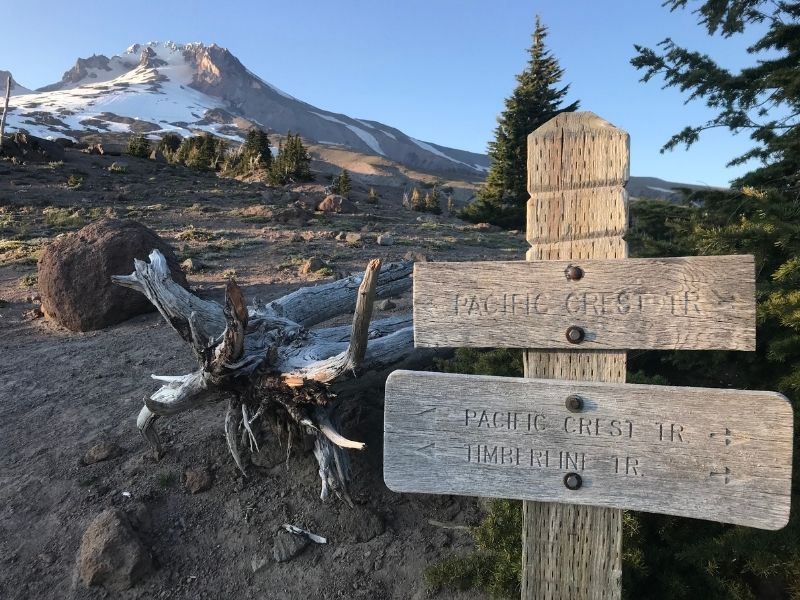
Northbound (NOBO)
A NOBO PCT thru hike usually begins in March or April at the Mexican border and ends at the Canadian border by late September.
The goal is to get through the desert before it gets too hot (around June) but not get there too early, as you may get stuck in unmelted snow at Mt. San Jacinto (~150 miles north of the border) or in the Sierra.
You will also need to reach the Canadian border before winter storms and high snow begin in Washington (anywhere between early September – October).
Pros:
- A NOBO hike is your best bet for avoiding forest fire season (June-September). Starting early will likely allow you to avoid more forest fires.
- This is the most popular direction, so you’ll likely have lots of company. If this is what you’re looking for, a NOBO is the best way to hike with others (and meet your tramily!)
- Starting in the desert means you’ll be starting on easier, flatter terrain
Cons:
- In high snow years, you may hit the Sierra before the snow has melted and will need to wait it out. While this isn’t a hike-ender, and some do go into the Sierra before all the snow has melted, this can get dangerous or expensive as you either go through high snow or wait for it to melt.
- More crowds, especially in early months when hikers are more clumped together. Trail towns may be overcrowded and it may be hard to find a place to stay.
- Early snows can end your hike in northern Washington.
Southbound (SOBO)
A SOBO PCT thru hike usually begins in late June or early July at the Canadian border and ends at the Mexican border by mid-late November.
The goal for a SOBO hike is to start once snow is melting at the Canadian border and get through the Sierra and peaks of southern California before snow arrives in the fall.
You should aim to be at Kennedy Meadows South by late September / early October.
Pros:
- Avoid desert heat by hiking the desert in the fall!
- Avoid crowds, as this direction is less popular. Don’t worry though, there are plenty of other SOBO hikers.
- Starting in the North Cascades means you’ll start on hard terrain, but will get it done more quickly, allowing you to fly through the desert section more quickly at the end of the hike.
Cons:
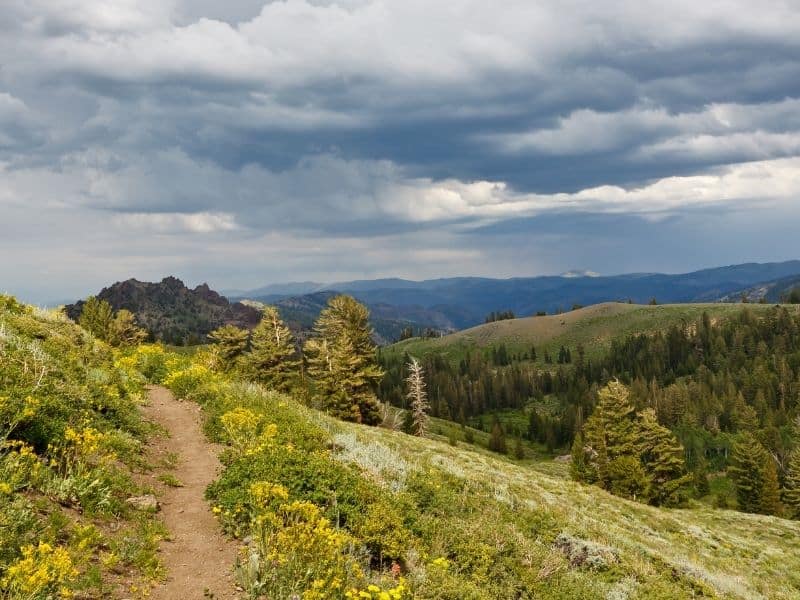
- You may hit peak forest fire season. For example, in 2021, SOBO thru-hikers had to skip most of northern California due to extreme forest fires, and were stopped again when California’s national forests shut down for three weeks due to fire concerns.
- This may be a less social hike than a NOBO hike (which can be considered a pro or a con).
- Resupply locations in the Sierra may close earlier than you get there.
- You’ll need to begin your hike in the U.S., hike north from Hart’s Pass to the Canadian border, and then begin your true SOBO hike from the border.
- Less water in the fall in the desert may entail longer water carries
Flipflop
On a flipflop hike, you start in the middle, hike in one direction, and then flip back to the middle where you started and hike in the opposite direction.
A flipflop hike’s timing depends on when you start and when you end.
For example, my hike started at Sonora Pass on June 15, which was possible due to low snow in the Sierra.
The goal for a flip flop is to reach the Canadian border with time to flip back down to the Sierra (or wherever you started) via train or plane before the Sierras get snow (usually in late September-mid October).
You’ll want to be past the high peaks of southern California before they get snow as well, usually in mid-late October.
Many flipfloppers choose to begin their hike north of Sonora Pass in June (eg. Chester, CA is a popular trail town to start at) and hike north, and then flip back to the start and hike south.
Note that the Sierra must be hiked continuously in a single direction, so don’t start your flipflop in the middle.
Pros:
- Avoid desert heat by hiking the desert in the fall!
- Avoid crowds, as this direction is less popular. However, depending on when and where you start, you may line up with the NOBO hiker bubble.
- More permit flexibility, as you’re starting on less popular dates at less popular locations
- You can pick the difficulty of your starting terrain
Cons:
- You may hit peak forest fire season, depending on where you start. On my 2021 flipflop hike, fires began to hit northern California, Oregon and Washington as I hiked through them in June/July/August.
- Flipflops may be a less social hike than a NOBO hike (which can be considered a pro or a con).
- Flipflop hikes can be a bit more expensive since you also need to account for needing to take a plane, train, or bus back to your starting point.
- Flipflop hikes require more logistics, as you’ll need to secure transportation not only from your start and end points, but also between both terminuses and your starting/midpoint.
What If I Don’t Get the PCT Permit I Wanted?
First of all, don’t worry! You’ll still get to hike. Don’t hike without a permit, as not only does this violate Leave No Trace principles, but it is illegal and rangers may ask to see your permit.
One great option is to do a flipflop hike. This way, you can choose any permit (aim for a less popular day), and then call the PCTA to change it.
Because flipflops start on less popular days and in less popular places, you shouldn’t have any trouble changing your permit to a start date that works for you (as long as your starting location is somewhere other than the southern or northern borders).
Another option is to continually check the PCTA permit portal to check for dates that open up. While permits get snatched up on the release date, many people give theirs up as plans change.
Planning Your PCT Thru Hike Itinerary
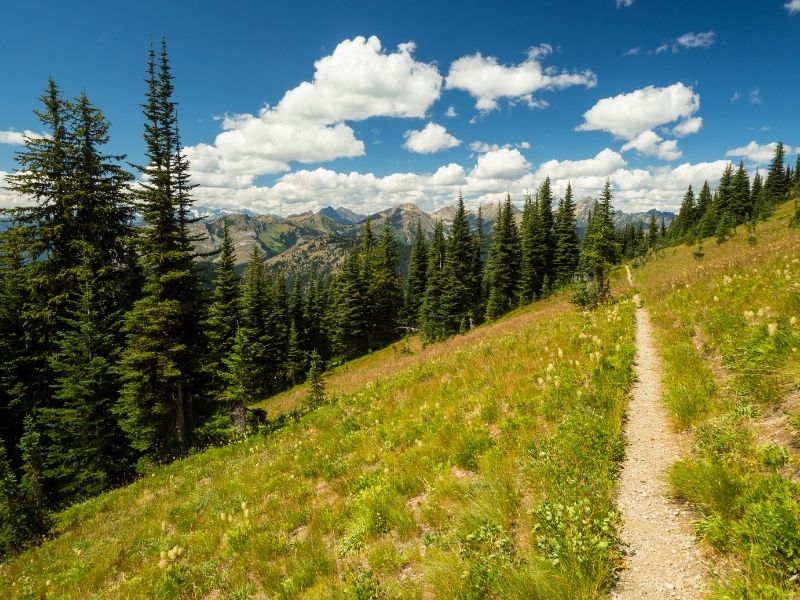
Once you have your permit, calculate how many miles you think you’ll average.
Don’t forget to include some time to take zero days (days you don’t hike at all) or ‘nero’ days (days you hike low miles in or out of towns).
From there, you can begin to set goals for when you’d like to get to certain landmarks (eg. Tuolumne Meadows or the Oregon border) in order to stay within a safe weather window.
Resupplies
How to figure out where to send boxes: Many trail towns have a store where you can buy resupplies. In fact, many towns have even catered their product selection to thru-hikers.
However, there are some towns that have a post office but do not have a store, or their store is not well-stocked for hikers.
While some hikers make do with high miles (skipping these towns) and sending very few boxes, most hikers end up sending several boxes to towns that don’t have good resupplies.
The best way to figure out where to send your resupplies is to calculate your average mileages, and determine how many days of food you can carry. For most hikers, this is between 4-7 days of food.
Some section will be shorter between resupply, and some will be longer. Your boxes should account for the number of days it’ll take for you to hike that section, and include enough food for that time period.
Then, figure out which towns don’t have good resupply options. Halfmile’s Trail Notes provide good descriptions of towns and their mileages.
Many people simply rely on an app like FarOut (previously Guthook Guides), which shows a list of trail towns, mileages, and amenities, as well as notes on resupply from the app itself and from previous hikers’ comments.

Doing it all ahead of time: Some hikers plan every single resupply and send boxes to themselves ahead of time, which requires much planning and also means you’ll likely be eating similar food for much of the hike.
Pros:
- Save some money by buying your food in bulk
- You won’t be subject to high prices as small grocery stores in small trail towns
- Allows you to send special foods you might not find in trail towns (which is helpful if you have any dietary restrictions)
Cons:
- Your tastes may change when hiking and you might get sick of the food you packed. Make sure you pack in enough variety, as there’s only so many Clif bars you can eat.
- Your appetite may be hard to gauge until you’re hiking- hiker hunger is real, but it’s impossible to know how hungry you’ll be when.
- Shipping boxes can get expensive
- If your plans change while hiking, you may lose boxes that you can’t pick up
Planning as you go: If months of planning isn’t your cup of tea, it’s possible to simply plan your resupplies as you hike.
This will include mainly buying your food from grocery stores in trail towns, and occasionally sending a box to yourself farther up trail. This is the most popular method for resupplying.
I recommend planning out the first 200 miles of resupplies, as there may be some towns in the first few weeks of your hike that don’t have robust resupply options.
Pros:
- Less planning time overall
- Allows you to adapt to your changing tastes and appetites as the hike continues
- Allows you to adapt to changing plans
Cons:
- You will need to make sure you send boxes to yourself enough in advance to avoid arriving to a town before your box. Express shipping gets expensive quickly.
- Food may be more expensive if you’re buying it in small towns with high prices
- Food options may be smaller in small towns – sometimes your best option is a gas station (although in my experience, even as a vegetarian, these gas stations were often well stocked!)
Pro Tip: From someone whose hiking plans were highly impacted by forest fires, keep this in mind. If possible, send your resupply boxes through General Delivery priority mail through the USPS. This allows you to ‘bounce’ boxes for free (send them to a different location) if your plans change unexpectedly.
Packing: Dialing in Your Gear
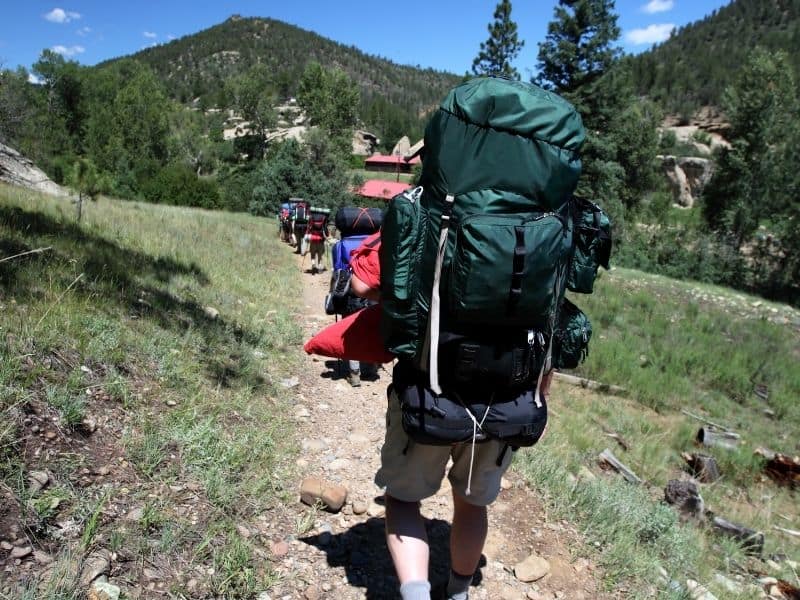
Gear lists may be the most controversial part of planning a PCT thru-hike, as everyone has their own preferences and ideas about how best to balance comfort and pack weight.
We have a full article on this coming, so we’ll just use a bullet point list for now, and then you can read our full guide (with product recommendations) for continued reading.
Your ‘Big Three’
- Tent
- Pack
- Sleeping bag or quilt
- Sleeping pad
Clothing
Note the amount of clothing is highly variable from person to person. Some people like to have a change of clothes or town clothes, others don’t.
Clothing will also change depending on weather- you may not need all of these clothes at once.
- Shirt (most thru-hikers wear lightweight long sleeves for sun protection)
- Shorts
- Wool socks
- Underwear (& sports bra if applicable)
- Sun hat
- Pants (for hiking and/or for warmth, depending on your style)
- Warm jacket
- Mid-layer, like a wool shirt
- Raincoat (and waterproof rain pants if the weather calls for it)
- Warm hat
- Gloves
- Hiking shoes or boots
- Lightweight camp shoes (very optional!)
Electronics
- Extra charging capacity: External battery or solar charger
- Headlamp & extra batteries or a way to charge it
- Phone & charger
- Earbuds (optional)
- Camera (optional – most hikers use their phone)
- Watch
Food & Water
- Stove
- Pot
- Utensil
- Lighter
- Fuel
- Water filtration system (most people use a Sawyer Squeeze – make sure you bring a plastic squeezer bottle, as the bags tend to break)
- Water bottles or other water carrying system – enough to carry at least 3 liters (For sections where you know you’ll have a long water carry, make sure you get more bottles in advance. Some sections you’ll want to be able to carry at least 4L, but you won’t need that capacity all the time).
- Food storage bags (such as a bear-proof Ursack or smell-proof Opsack).
- Backpacking meals & trail snacks
- Bear cannister (required in the Sierra)
Safety
- Satellite phone (optional but highly recommended- most thru-hikers these days have one)
- Navigation tools: Maps of some kind (most people use an app like like FarOut, previously Guthook Guides). Include backup maps in case your phone dies.
- First aid kit
- Sunscreen
- Sunglasses
- ID (including a passport if you’re hiking into Canada from the U.S.)
- Small amount of cash (some campgrounds require cash payments)
Miscellaneous
- A physical paper copy of your permit is required. Don’t print it too early in case you need to change your permit.
- Trowel & toilet paper
- Microspikes & ice axe (if you’ll be hiking in snow – experience and training is recommended)
- Trekking poles
Creating your gear list using Lighterpack.com can be a great way to track the gear you’re bringing and its weight.
There’s no need to feed into the ‘how light is your baseweight’ frenzy.
Of course, bring only the essentials (and maybe a small luxury item), but don’t worry compare your pack weight to others’ – there will always be someone out there with a smaller pack!
That said, make sure your pack is light enough that you’ll be happy carrying it for miles on end.
Ideally, your full pack will be no heavier than one-quarter to one-third of your body weight. Remember that food and water will add weight on top of your base weight, so make sure you account for that!
You will be able to dial it in on trail, but a few training trips is not a bad idea. You can always send unwanted gear away or drop it in a hiker box, or get a new piece of gear shipped to you.
Training & Preparing
Money
While this isn’t exactly training, you’ll want to make sure you have enough money saved to complete your PCT thru-hike.
While many do it cheaper (and many do it more expensive!), a good rule of thumb is that the average hiker spends about $800-1000 per month.
Running out of money is one of the most common hike-enders. You can save money by spending less time in towns and less money on hotels.
Physical Preparation
In terms of physical training, the best way to prepare for your thru-hike is… to hike.
Take your pack out for a few shakedown trips, and try to get as much hiking in in the months leading up to your trip as possible!
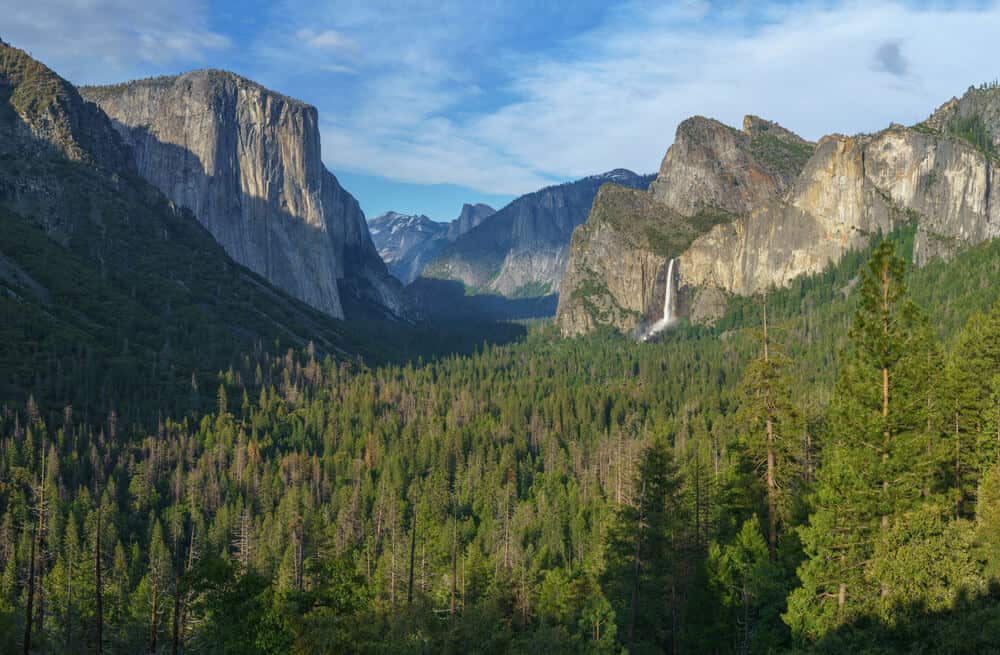
If you’re based in California, you could try a handful of multi-day hikes, such as the Rae Lakes Loop or the High Sierra Trail.
No time for that? I suggest a few day hikes in Tuolumne Meadows, which is both easy to access and will prep you well for hiking along higher-altitude stretches of the Pacific Crest Trail.
Other good day hikes can be found in the area around Mt Shasta.
Another good option before tackling the entirety of the PCT is the John Muir Trail.
If hiking isn’t possible, make sure you get some cardio in (running is a great way to do this) and build up your back and leg strength.
Even with minimal physical training, after a few weeks on trail your body will likely begin to get stronger.
However, it is important to begin the hike in decent physical shape so you can avoid injury.
Arranging PCT Transportation
You’ve got your permit, you’ve packed up your things, and said goodbye to your loved ones. The last step is getting to the trailhead.
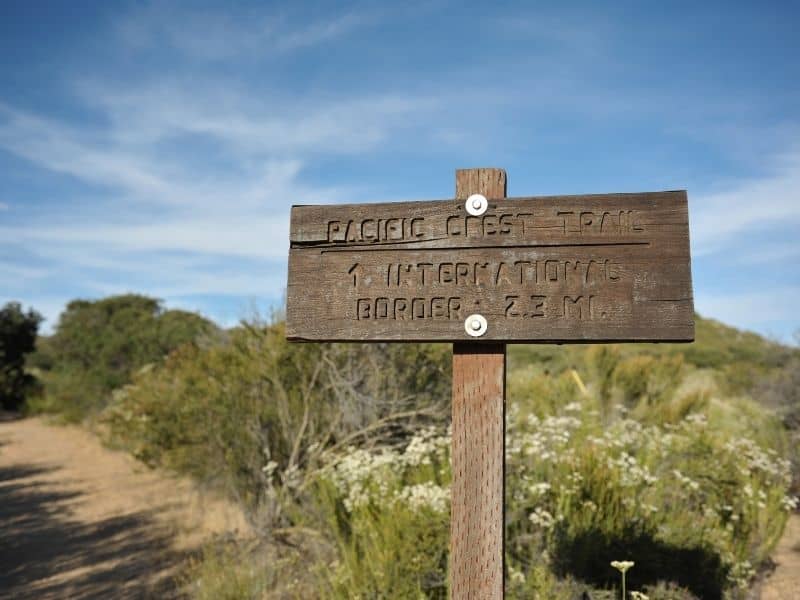
Mexican Border
Most hikers fly into San Diego and then use a mix of public transportation, trail angels and/or hiker shuttles to get to Campo and the southern terminus.
Canadian Border
It is illegal to enter the U.S. on the PCT from Canada, so you’ll actually need to start your hike from the U.S. (most often from Hart’s Pass), hike to the northern terminus at the border, and then start your hike southbound.
There are various transportation options from the Seattle airport to Hart’s Pass, including several hiker-specific shuttles.
Flipflop
Getting to your flipflop trailhead depends, of course, on where your trailhead is.
Find the nearest airport to your trailhead (for Northern California, that’s often Fresno, Sacramento or San Francisco) and then make use of buses or trains to get as close as you can.
For more remote trailheads, you may need to rely on trail angels or arrange for a private shuttle to take you.

Lena is an outdoor recreation enthusiast born and raised in the San Francisco Bay Area. After going on her first camping trip at 3 months old, she hasn’t stopped since. While her backpacking adventures have taken her to wilderness destination across the country, California’s mountains and deserts will always be her favorite.